
Data Cloud - Configure Identity Resolution
Implement Identity Resolution in Salesforce Data Cloud to unify customer profiles across multiple data sources.
Salesforce Data Cloud Developer
1. Abstract
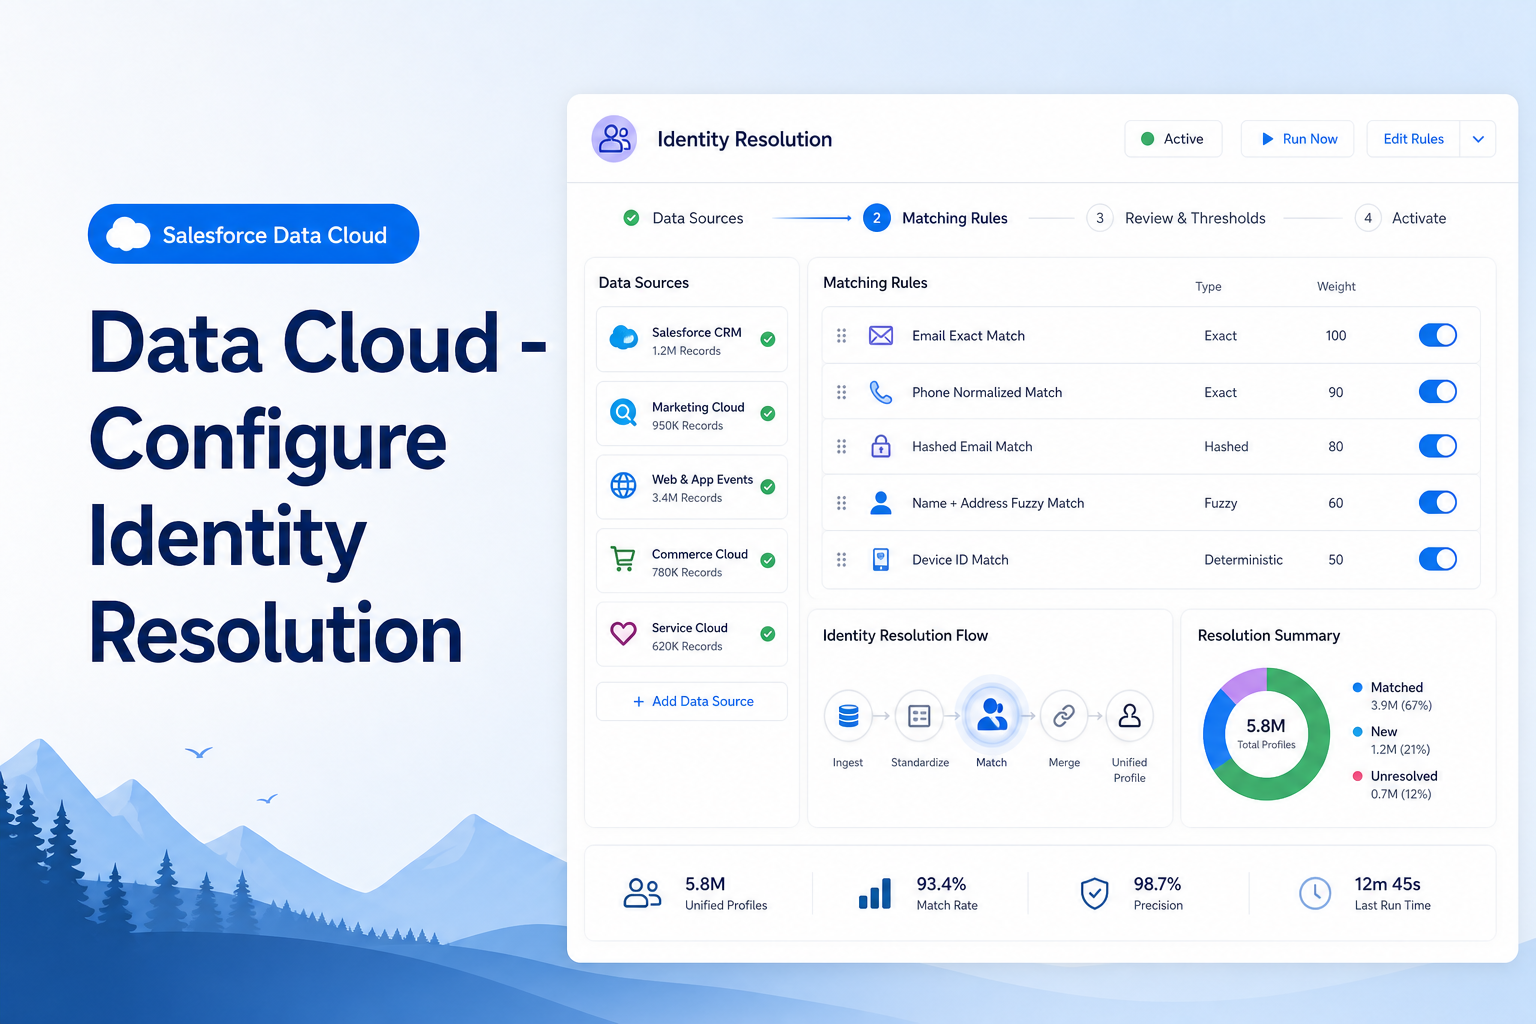
Identity Resolution in Salesforce Data Cloud is the process of unifying disparate individual profile records from multiple data sources into a single, coherent Unified Individual profile. This is achieved by configuring Match Rules (which determine how records are compared and linked) and Reconciliation Rules (which determine how conflicting attribute values are resolved into a single unified value).
The objective of this exercise is to walk through the end-to-end configuration of Identity Resolution within a Data Cloud org, covering:
- Validating that key data sources (Contact Point Email, Party Identification) are correctly mapped before resolution begins
- Creating a ruleset with multiple match rules combining fuzzy name matching, normalized email comparison, exact birth date criteria, and party identification-based matching across multiple loyalty programs and identity document types
- Configuring reconciliation rules to establish source priority for key profile objects
- Running the ruleset, interpreting the resolution summary statistics (Known Unified Profiles, Consolidation Rate), and exploring the computed unified profiles using Data Explorer, Salesforce Reports, and Profile Explorer
- Understanding the role of Bridge objects (Unified Link Individual) in linking source Individual records to their resulting Unified Individual records
The expected outcome after a correctly configured run is 176 Known Unified Profiles from 200 source Individual records, yielding a 12% Consolidation Rate.
2. Solution
Core Concepts
Identity Resolution produces a Unified Individual by aggregating all profile data, contact points, and transactional or engagement linkages across source systems. The process works in two stages:
Stage 1 — Matching: The system evaluates Individual records against each configured Match Rule. Each rule is a collection of criteria joined by AND logic. Multiple rules are evaluated using OR logic — meaning a pair of records only needs to satisfy one rule to be considered a match. More criteria within a rule = stricter matching = potentially lower match rates. More rules = more opportunities for a match = potentially higher match rates.
Stage 2 — Reconciliation: Once records are matched and grouped into a Unified Individual, reconciliation rules determine which source value "wins" for each attribute in the resulting unified profile. Options include Most Frequent (default) and Source Priority (explicitly ranked sources).
Data Model Objects Involved
| DMO | Type | Purpose |
|---|---|---|
| Individual | Profile | Source profile records ingested from one or more data streams mapped to this object. Represents 200 Source Profiles in the resolution summary. |
| Unified Individual | Profile | System-generated unified profile records produced after resolution. Represents 176 Total Unified Profiles in the resolution summary. |
| Unified Link Individual | Bridge | Links Individual records to their corresponding Unified Individual record. This is the key object for investigating which source records were matched together and validating resolution outcomes. |
The Individual object does not hold a direct relationship to Unified Individual. Instead, it relates to Unified Link Individual (a Bridge type DMO), which in turn links to Unified Individual. This bridge pattern is what enables many-to-one matching (multiple source Individual records pointing to a single Unified Individual).
Match Rules Designed for This Scenario
Five match rules are configured for the Main ruleset:
- Fuzzy Name and Normalized Email and Exact Birth Date — Combines first name fuzzy match, last name fuzzy match, normalized email (strips formatting characters like angle brackets from S3 data), and exact birth date comparison. The "Match on Blank" option is enabled for birth date, allowing records without a birth date to still satisfy this criterion.
- Exact Party ID for Airline Loyalty Program — Matches on exact Identification Number where Party Identification Type = Loyalty Program and Party Identification Name = Airline Membership.
- Exact Party ID for Motor Club Loyalty Program — Same as above but scoped to Motor Club Membership.
- Exact Party ID for RAVG Retail Loyalty Program — Same pattern for RAVG Retail Membership.
- Exact Party ID for Driver License Person Identifier — Matches on exact Identification Number where Party Identification Type = Person Identification and Party Identification Name = Driver License.
Reconciliation Rules Designed for This Scenario
- Contact Point Address and Contact Point Phone — Left at default Most Frequent, as only a single data source feeds these objects.
- Contact Point Email — Updated to Source Priority with the CRM Contact source ranked first, ensuring CRM email values take precedence over S3 values in the unified profile.
- Individual attributes — Updated to Source Priority with CRM Contact source ranked first.
- Party Identification — Left at default Most Frequent configuration.
Key Resolution Statistics
| Metric | Expected Value |
|---|---|
| Source Profiles (Individual records) | 200 |
| Known Unified Profiles | 176 |
| Consolidation Rate | 12% |
3. Step-by-Step Guide
Step 1 — Validate Data Mapping
Before touching resolution rules, confirm the underlying data model is correctly structured.
Contact Point Email object:
- Navigate to the Data Model tab and open the Contact Point Email object
- Under the Fields tab, verify that both Contact_<ORG_ALIAS> and eComm Customer Profile data lake objects are mapped to this DMO
- Under the Relationships tab, confirm there is a configured relationship to the Individual object via the Party field
Party Identification object:
- Open the Party Identification object from the Data Model tab
- Verify that Contact_<ORG_ALIAS>, eComm Customer Profile, and Party Identification Collection data lake objects are all mapped
- Under the Relationships tab, confirm the relationship to Individual via the Party field is present
Both objects must pass this check before proceeding. Missing mappings here will cause resolution rules to fail silently or produce incorrect results.
Step 2 — Configure the Ruleset
Navigate to the Identity Resolutions tab and create a new ruleset with the following attributes:
- Data Space: default
- Primary Data Model Object: Individual
- Ruleset ID: leave blank (auto-generated)
- Ruleset Name: Main
- Ruleset Description: Main ruleset with email and party identification matching rules
- Run jobs automatically: Disabled
Save the ruleset.
After saving, navigate to the Data Model tab and switch to Graph view. Verify that new Unified Individual, Unified Link Individual, and related Unified objects have been created and that Unified Individual shows relationships to 5 objects. If relationships are missing but objects are present, refresh the screen.
Step 3 — Add Match Rules
Return to the Identity Resolution tab and open the Main ruleset to add the following match rules:
Match Rule 1:
- Select the built-in rule type: Fuzzy Name and Normalized Email
- Click Add additional criteria and configure:
- Object = Individual
- Field = Birth Date
- Match Method = Exact
- Enable the Match on Blank checkbox
- Rename this rule to: Fuzzy Name and Normalized Email and Exact Birth Date
Match Rule 2 (Custom Rule):
- Object = Party Identification
- Field = Identification Number
- Match Method = Exact
- Party Identification Type = Loyalty Program
- Party Identification Name = Airline Membership
- Rule Name = Exact Party ID for Airline Loyalty Program
Match Rule 3 (Custom Rule):
- Object = Party Identification
- Field = Identification Number
- Match Method = Exact
- Party Identification Type = Loyalty Program
- Party Identification Name = Motor Club Membership
- Rule Name = Exact Party ID for Motor Club Loyalty Program
Match Rule 4 (Custom Rule):
- Object = Party Identification
- Field = Identification Number
- Match Method = Exact
- Party Identification Type = Loyalty Program
- Party Identification Name = RAVG Retail Membership
- Rule Name = Exact Party ID for RAVG Retail Loyalty Program
Match Rule 5 (Custom Rule):
- Object = Party Identification
- Field = Identification Number
- Match Method = Exact
- Party Identification Type = Person Identification
- Party Identification Name = Driver License
- Rule Name = Exact Party ID for Driver License Person Identifier
Ignore any warnings about adding more criteria to Party Identification rules and save the configuration. After saving, the ruleset status will change to Publishing and then to Published. Confirm in graph view that all Unified objects are interlinked with no orphaned nodes.
Step 4 — Configure Reconciliation Rules
From the Identity Resolution tab, open the Main ruleset and navigate to the Reconciliation Rules section.
- Contact Point Address: No changes — leave at default Most Frequent
- Contact Point Phone: No changes — leave at default Most Frequent
- Contact Point Email:
- Click the edit icon next to the Default Rule
- Change from Most Frequent to Source Priority
- Set Contact_<ORG_ALIAS> as the first priority source
- Save
- Individual attributes:
- Repeat the same process — change to Source Priority with Contact_<ORG_ALIAS> ranked first
- Save
- Party Identification: No changes — leave at default Most Frequent
Step 5 — Run the Ruleset
Click the Run Ruleset button in the top-right area of the screen. The Last Job Status will update to In Progress. Processing can take up to 30 minutes.
Upon completion, the resolution summary will display:
- Count of Source Profiles
- Count of Known Unified Profiles
- Consolidation Rate
Also review the Processing History tab for job-level statistics.
Step 6 — Explore Unified Profiles Using Data Explorer
Navigate to the Data Explorer tab. Select either the Contact_<ORG_ALIAS> DLO or the Individual DMO as the object type.
Filter records using the following External ID values (paste as comma-separated list):
c0054cf8-904e-4475-a20b-02fde98f09d4,c0068c86-ef05-4513-bc55-316e45652006,
c0071c1c-8110-4389-abd4-2bb3b444bdf1,c0076c39-9e73-4d0c-920b-78728a73e3e4,
c0072c54-5ad2-4e5b-acbb-b71c944e6f61,ctravcd6-3dbf-4671-8192-df8e3e6041bf,
c0080c00-e036-466f-8e34-e8c0468cd17f,cstevcbb-be16-41d5-ab9f-3ad106e919d1,
c0082c44-1841-499f-b6cb-89420032f66d,cVALLc3-5d39-44b0-aabf-f2f90cb7dd22,
c0120cb3-a749-4844-9ab2-a48e100a032c,c0121c86-0acf-497d-bf06-308cc2d75f8f
Note down the Individual Id values returned for each record. Then switch the object to Unified Link Individual and filter using those Individual Id values to retrieve the corresponding Unified Individual Id for each. Records sharing the same Unified Individual Id were matched together.
Build a tracking table with columns: Validation Scenario, External Record Id, Individual Id, Unified Individual Id, Result As Expected.
Step 7 — Explore via Salesforce Reports (Alternative)
Navigate to the Reports tab and create a new report:
- Category: Data Cloud
- Report Type: Unified Link Individual with Individual
- Group rows by: Unified Individual Id
- Include columns: Individual Id, External Record Id, Data Source, First Name, Last Name, Birth Date
- Add filter: External Record Id equals (paste the same comma-separated External ID list from Step 6)
- Disable Subtotals and Grand Total
- Save and run the report as: Unification results for validation
This report consolidates what would otherwise require multiple separate Data Explorer searches into a single view, and supports larger result sets (Data Explorer caps at 200 records).
Step 8 — Explore via Profile Explorer
Navigate to the Profile Explorer tab. Select:
- Data Space: default
- Object: Unified Individual
- Attribute: Unified Individual Id
Paste a Unified Individual Id from your tracking table (preferably one with multiple Individual Ids linked to it) and press Enter to search. Open the profile using the View link.
Step 9 — Configure the Unified Individual Record Page Layout
From the profile view, click the settings icon in the top-right and choose Edit Page.
- Highlights Panel: Add Person Name field. Add Birth Date to both Highlights and Details panels.
- Details Panel: Remove Person Name (already in Highlights). Reorder fields as preferred.
- Add a Tabs component to the page. Move the Data Cloud Details Panel component under a Details tab.
- Switch to the Related tab and add the following Data Cloud Profile Related Records components:
- Component 1 — Individual: Data Space = default, Unified Individual DMO = Unified Individual, Unified Individual Link = Unified Link Individual, Related Data Model Object = Individual, Select Fields = Individual Id, Person Name, External Record Id, Data Source Object, Birth Date, Component Icon = Individual
- Component 2 — Unified Indv Party Identification (same pattern, pointing to that DMO)
- Component 3 — Unified Indv Contact Point Email (same pattern)
- Add Data Cloud Profile Engagements component to the right column and configure it for the default data space with all available Engagement DMO objects selected.
- Save and Activate as Org Default.
Step 10 — Validate Actual Resolution Outcomes
After completing profile exploration, compare your findings against the expected results:
| Ref | Result | Matched To | As Expected? | Notes |
|---|---|---|---|---|
| CRM-1 | Not matched | — | No | Fuzzy logic treated "Will" vs "Wilfredo" as completely different values |
| CRM-2 | Matched | S3-2 | Yes | Name variation small enough for fuzzy match to succeed |
| CRM-3 | Matched | S3-3 | Yes | Party identification matching succeeded despite different emails |
| CRM-4 | Matched | S3-4 | Yes | Party identification succeeded despite missing birth date on CRM record |
| CRM-5 | Matched | CRM-6, CRM-7, CRM-8, S3-5, S3-6 | No | Unexpected cascade: shared driver license across R-2, R-4, R-5 rentals linked all four CRM profiles; CRM-5 also unexpectedly matched S3-5 via fuzzy name despite the two-word first name |
| CRM-9 | Matched | CRM-10, S3-7 | Yes | CRM-10 and S3-7 matched via shared loyalty number; CRM-9 joined via rental R-3 |
| CRM-11 | Matched | CRM-12 | Yes | Shared airline membership number in rental records R-6 and R-7 |
| CRM-12 | Matched | CRM-11 | Yes | Same as above |
Total actual Unified Individual count from the validation set = 8, matching the expected figure, even though several individual match outcomes differed from the plan.
4. Conclusion
Summary
Configuring Identity Resolution in Salesforce Data Cloud requires a well-considered combination of data mapping validation, match rule design, and reconciliation rule prioritization. The exercise demonstrated how records from two sources (Salesforce CRM Contacts and an S3 Customer Profile feed) can be unified through a layered set of matching strategies — from fuzzy name and email matching to precise party identification matching across multiple loyalty programs and driver license records.
The resolution of 200 source Individual records into 176 Unified Individual profiles (12% Consolidation Rate) confirms the configuration is working as intended, and the bridge object pattern (via Unified Link Individual) provides a traceable, inspectable record of exactly how individual profiles were linked.
Pros
- Flexible rule design: The OR-between-rules, AND-within-criteria structure gives architects fine-grained control over how strict or permissive the matching logic is, making it adaptable to diverse data quality scenarios
- Multi-source party identification matching: Loyalty program and document-based matching allows profiles to be linked even when name and email data is inconsistent or missing
- Transparent audit trail: The Unified Link Individual bridge object, combined with Data Explorer, Reports, and Profile Explorer, provides multiple ways to inspect and validate resolution outcomes at the record level
- Reconciliation source priority: Being able to specify which source system "wins" for each DMO attribute ensures the unified profile reflects the most trusted data
- Scalable validation approach: The Salesforce Reports method for validation is significantly more scalable than Data Explorer for larger datasets (no 200-record cap)
Cons
- Fuzzy matching is unpredictable at the edges: As seen with CRM-1/S3-1 ("Will" vs "Wilfredo"), the fuzzy algorithm can produce surprising non-matches for names that humans would consider obvious variants. Conversely, CRM-5/S3-5 matched despite a meaningfully different first name structure ("Caroll Alice" vs "Caroll"). This requires careful pre-analysis of source name data before finalizing fuzzy rules
- Cascading matches can produce over-consolidation: The six-way unification of CRM-5, CRM-6, CRM-7, CRM-8, S3-5, and S3-6 — driven by a shared driver license number across rental records — illustrates how transitive matching can create unexpectedly large unified profiles. This may reflect data entry errors rather than true identity matches
- Birth Date field dependency is fragile: A misconfigured custom formula field on the data stream can silently remove birth date from matching, producing a materially different resolution outcome (189 vs 176 profiles) that is non-obvious to diagnose without the troubleshooting steps described
- Processing time: Resolution jobs can take up to 30 minutes, making iterative testing and rule refinement a slow process in real implementations
- Billable consumption impact: Each Unified Individual record consumes from the org's billable allocation. Overly permissive matching rules that over-consolidate profiles can have direct cost implications, reinforcing the importance of thorough pre-production test dataset validation before going live