
Agentforce – Personalised B2B Chat Context
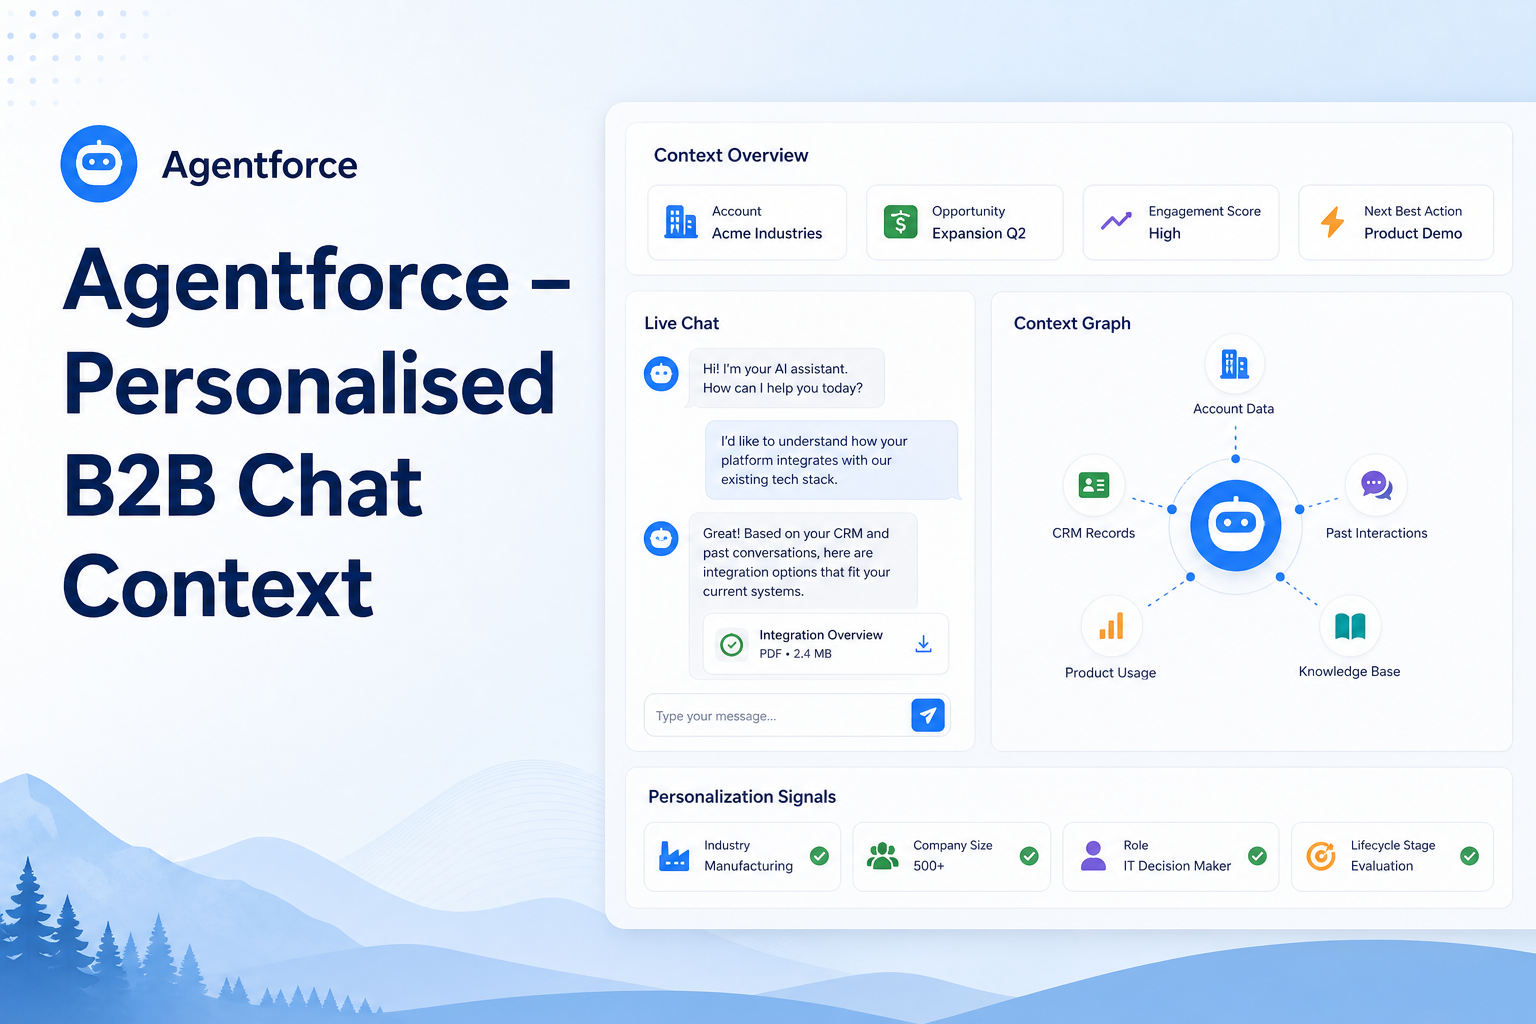
Build personalized B2B customer conversations by leveraging Agentforce contextual intelligence and Salesforce data.
Salesforce Developer
Abstract
B2B community portals built on Salesforce frequently embed an Agentforce Service Agent via the Embedded Service chat widget. Out of the box, this agent has no awareness of who the visitor is — every conversation starts from a blank slate, even when the visitor is a fully authenticated community user with a known Account, Contact, and User record in Salesforce.
This article documents a complete, production-ready solution that closes that gap. The goal is simple: the moment a logged-in buyer opens the chat widget, the platform should automatically capture their User ID, Account ID, Contact ID, and the Product ID they were viewing, and pass this context silently to the Agentforce Service Agent — so the agent can open the conversation already knowing who it is speaking to.
The solution combines four Salesforce components:
- An Apex controller that retrieves the current user's identifiers from the database.
- A Lightning Web Component (LWC) that orchestrates context injection before the chat button becomes visible.
- Custom Parameters and Parameter Mappings on the Embedded Service (Messaging) Channel.
- An Omni-Channel Flow that reads those values and routes the conversation to the Agentforce Service Agent.
Solution
The solution is built on a straightforward data-flow principle: fetch the logged-in user's context on the page before the chat widget is interactive, register that context as hidden pre-chat fields, and let Salesforce's Embedded Service plumbing carry those values into the Messaging Session where the Omni-Channel Flow can act on them.
Architecture Overview
Data flows through four stages in sequence:
- A logged-in community user lands on a page that includes the FetchCurrentUserforAgent LWC.
- The LWC calls the AgentUserCtrl Apex method to retrieve the current user's Id, AccountId, and ContactId.
- The LWC hides the embedded chat button, registers the retrieved values as hidden pre-chat fields via
embeddedservice_bootstrap.prechatAPI.setHiddenPrechatFields(), then shows the chat button. - When the visitor opens the chat, the Embedded Service Channel's Custom Parameters and Parameter Mappings carry these hidden field values — plus an optional Product Id from the page — into the Messaging Session record.
- The Omni-Channel Flow ("Route to ESA") retrieves the Messaging Session, writes the context values onto custom fields, and routes the conversation to the Agentforce Service Agent with a human-agent fallback queue.
Apex Controller — AgentUserCtrl
The AgentUserCtrl Apex class exposes a single @AuraEnabled(cacheable=true) method that returns the current user's Id, Name, Email, AccountId, and ContactId as a simple string map. Marking the method cacheable allows the LWC to call it efficiently without unnecessary server round-trips.
The class is declared without sharing so it can reliably query the User record regardless of object-level sharing rules — appropriate here because the method only returns the requesting user's own identifiers. A null check on the incoming userId surfaces a meaningful error via AuraHandledException rather than a generic Apex exception.
public without sharing class AgentUserCtrl {

    @AuraEnabled(cacheable=true)
    public static Map<String, String> getUserDetails(Id userId) {
        if (userId == null) {
            throw new AuraHandledException('userId cannot be null');
        }
        User u = [SELECT Id, Name, Email, AccountId, ContactId
                  FROM User WHERE Id = :userId LIMIT 1];
        return new Map<String, String>{
            'userId'    => u.Id,
            'name'      => u.Name,
            'email'     => u.Email,
            'accountId' => u.AccountId,
            'contactId' => u.ContactId
        };
    }
}
LWC — FetchCurrentUserforAgent
The FetchCurrentUserforAgent component is the orchestration layer. It is placed on the community page (e.g. the Home page or a global layout) and runs automatically for every authenticated visitor. It hides the chat button, calls the Apex controller, registers the hidden pre-chat fields once the Embedded Messaging bootstrap is ready, then restores the chat button.
A 5-second global timeout inside setChatButtonVisible() ensures the chat button is always re-shown even if the bootstrap script fails to fire or the DOM selectors never match — preventing any visitor from being permanently locked out of the chat entry point.
Embedded Service Channel — Custom Parameters & Parameter Mappings
Hidden pre-chat fields set by the LWC are only useful if the Embedded Service Channel is configured to accept them. Four Custom Parameters must be defined on the channel:
| Parameter Name | API Name | Channel Variable Name | Data Type / Max Length |
|---|---|---|---|
| communityuserid | communityuserid | communityuserid | String / 50 |
| communityaccountid | communityaccountid | communityaccountid | String / 50 |
| communitycontactid | communitycontactid | communitycontactid | String / 50 |
| Product Id | Product_Id | Product_Id | String / 18 |
Once the parameters are defined, a Parameter Mapping must be created for each one, linking the Channel Variable Name to the matching Flow Variable Name. Channel Variable Names and Flow Variable Names must match exactly, including capitalisation — a mismatch silently breaks the hand-off with no error raised.
Omni-Channel Flow — Route to ESA
The Omni-Channel Flow runs when a new messaging work item is created. It consists of three elements:
- Get Messaging Session — a Get Records element that retrieves the Messaging Session by recordId.
- Update MessagingSession with User Context — an Update Records element that stamps CommunityUserId__c, CommunityAccountId__c, CommunityContactId__c, and Product_Id__c onto the session.
- Route to ESA — a Route Work action that hands the work item to the configured Agentforce Service Agent, with a Messaging Queue fallback if the agent is unavailable.
Step-by-Step Guide
Follow these steps in order to deploy and configure the full solution from scratch.
Step 1: Create Custom Fields on Messaging Session
Before any other component is deployed, create the following custom fields on the Messaging Session object in Setup → Object Manager:
| Field Label | API Name | Type | Length |
|---|---|---|---|
| Community User ID | CommunityUserId__c | Text | 50 |
| Community Account ID | CommunityAccountId__c | Text | 50 |
| Community Contact ID | CommunityContactId__c | Text | 50 |
| Product Id | Product_Id__c | Text | 18 |
Step 2: Deploy the Apex Controller
- Create a new Apex class named AgentUserCtrl in your org (Setup → Apex Classes → New, or deploy via SFDX).
- Paste in the AgentUserCtrl source from the Solution section above.
- Save and confirm there are no compilation errors.
Step 3: Deploy the LWC
The FetchCurrentUserforAgent LWC consists of two files: the JavaScript controller and the HTML template. The HTML template is minimal — the component renders nothing visible.
<!-- fetchCurrentUserforAgent.html -->
<template></template>
The full JavaScript source:
import { LightningElement } from 'lwc';
import userId from '@salesforce/user/Id';
import getUserDetails from '@salesforce/apex/AgentUserCtrl.getUserDetails';

export default class FetchCurrentUserforAgent extends LightningElement {
    userFields = null;
    injected = false;
    boundHandler = null;

    async connectedCallback() {
        if (!userId) { console.error('Guest user'); return; }
        this.setChatButtonVisible(false);
        this.boundHandler = () => this.injectFields();
        window.addEventListener('onEmbeddedMessagingReady', this.boundHandler);
        try {
            const data = await getUserDetails({ userId: userId });
            this.userFields = data;
            if (window.embeddedservice_bootstrap?.prechatAPI) {
                this.injectFields();
            }
        } catch (error) {
            console.error('Apex call failed', error);
            this.setChatButtonVisible(true);
        }
    }

    setChatButtonVisible(visible) {
        const poll = setInterval(() => {
            const btn = document.querySelector('button.embeddedServiceSidebarButton')
                     || document.querySelector('.embeddedServiceHelpButton button')
                     || document.querySelector('embeddedservice-chat-header')
                     || document.querySelector('[part="button"]');
            if (btn) {
                clearInterval(poll);
                btn.style.display = visible ? '' : 'none';
                btn.style.pointerEvents = visible ? '' : 'none';
                btn.style.opacity = visible ? '1' : '0';
            }
        }, 100);
        setTimeout(() => this.setChatButtonVisible(true), 5000);
    }

    injectFields() {
        if (this.injected || !this.userFields) return;
        const fields = {
            communityuserid:    this.userFields.userId,
            communityaccountid: this.userFields.accountId,
            communitycontactid: this.userFields.contactId
        };
        try {
            embeddedservice_bootstrap.prechatAPI.setHiddenPrechatFields(fields);
            this.injected = true;
            this.setChatButtonVisible(true);
        } catch (err) {
            console.error('Inject failed', err);
            this.setChatButtonVisible(true);
        }
    }

    disconnectedCallback() {
        if (this.boundHandler) {
            window.removeEventListener('onEmbeddedMessagingReady', this.boundHandler);
        }
    }
}
Deploy both files to your org and add the FetchCurrentUserforAgent component to the relevant community page(s) (e.g. the Home page or a global layout that loads on every page).
Step 4: Configure Custom Parameters on the Embedded Service Channel
- In Setup, navigate to Embedded Service Deployments and open your ESA channel.
- Scroll to Custom Parameters and click New for each of the four parameters listed in the Solution section (communityuserid, communityaccountid, communitycontactid, Product_Id).
- Set the API Name, Channel Variable Name, and Data Type / Max Length exactly as shown in the table above.
- Save after each entry.
Step 5: Configure Parameter Mappings
- Still on the ESA channel configuration page, scroll to Parameter Mappings.
- For each of the four custom parameters, click New Mapping and set:
- Channel Variable Name: the exact name from Step 4 (e.g. communityuserid).
- Flow Variable Name: the matching variable name used in the Omni-Channel Flow (e.g. communityuserid, communityaccountid, communitycontactid, Product_Id).
- Double-check capitalisation on every mapping — a mismatch silently breaks the hand-off.
- Save all mappings.
Step 6: Build the Omni-Channel Flow
- In Setup, go to Flows and create a new Omni-Channel Flow named Route to ESA.
- Add a Get Records element: query Messaging Session where Messaging Session ID equals
{!recordId}. Store Id, CommunityAccountId__c, CommunityContactId__c, CommunityUserId__c, and Product_Id__c into flow variables. - Add an Update Records element: update the Messaging Session where ID equals
{!recordId}, setting:
| Field on Messaging Session | Value (Flow Variable) |
|---|---|
| CommunityUserId__c | {!communityuserid} |
| CommunityAccountId__c | {!communityaccountid} |
| CommunityContactId__c | {!communitycontactid} |
| Product_Id__c | {!Product_Id} |
- Add a Route Work action: set Service Channel to Messaging, Route To as Agentforce Service Agent, select your agent, and set a Fallback Queue pointing to the Messaging Queue.
- Connect the elements and activate the flow.
Step 7: End-to-End Test
- Log in to the community as a test user who has a known Account and Contact.
- Navigate to a page where the FetchCurrentUserforAgent LWC is deployed.
- Open browser DevTools and confirm the Apex call succeeds and setHiddenPrechatFields is called with the correct IDs.
- Open the chat widget and verify the Agentforce agent greets the user with context-aware messaging.
- Check the Messaging Session record in Salesforce and confirm CommunityUserId__c, CommunityAccountId__c, CommunityContactId__c (and Product_Id__c if applicable) are populated.
- Test the fallback: temporarily deactivate the Agentforce agent and confirm new chats route to the Messaging Queue.
Conclusion
This solution turns a generic, anonymous Agentforce chat widget into a context-aware entry point that recognises the buyer from the moment the conversation begins. By combining a lightweight Apex controller, a resilient LWC, Embedded Service channel configuration, and an Omni-Channel Flow, the platform automatically threads the visitor's identity and product context all the way through to the Agentforce Service Agent — without any manual input from the buyer.
Pros
- Seamless buyer experience — the agent already knows who the visitor is, removing the need for identifying questions at the start of the conversation.
- Context survives fallback — if Agentforce is unavailable, the enriched Messaging Session is still routed to the human-agent queue, so no context is lost.
- Resilient implementation — the 5-second button timeout and error-handling catch blocks ensure no visitor is ever permanently locked out of chat.
- No custom platform events or external integrations required — the entire solution operates within native Salesforce capabilities (Apex, LWC, Embedded Service, Omni-Channel Flow).
- Extensible — additional context fields (e.g. Opportunity Id, Cart Id) can be added simply by extending the Apex map, adding LWC field registration, creating a new Custom Parameter, and adding a field mapping in the flow.
Cons
- DOM selector fragility — the LWC's button-hiding logic relies on CSS selectors that may change across Salesforce releases. The 5-second safety timeout mitigates user impact, but selector maintenance is an ongoing concern.
- Community-only — the approach relies on
@salesforce/user/Idreturning a valid Id, which only works for authenticated community users. Guest users are explicitly excluded. - Capitalisation sensitivity — mismatched Channel Variable Names and Flow Variable Names fail silently with no error or warning in the Salesforce UI, making debugging non-obvious.
- Custom fields required on Messaging Session — the four __c fields must be created manually (or via a deployment package) and are not part of the standard Messaging Session schema.
- Timing dependency — the solution introduces a deliberate delay before the chat button appears. On slow networks or pages with heavy LWC load, this could occasionally trigger the 5-second fallback, resulting in an unpersonalised session.
Overall, this is a robust and maintainable pattern for personalising Agentforce conversations in B2B communities. The trade-offs are well-understood and the mitigations (timeouts, error handling, fallback routing) cover the most impactful failure modes. Teams adding this solution should plan for periodic selector verification after Salesforce releases and consider wrapping the deployment in an unlocked package for easier version management.