
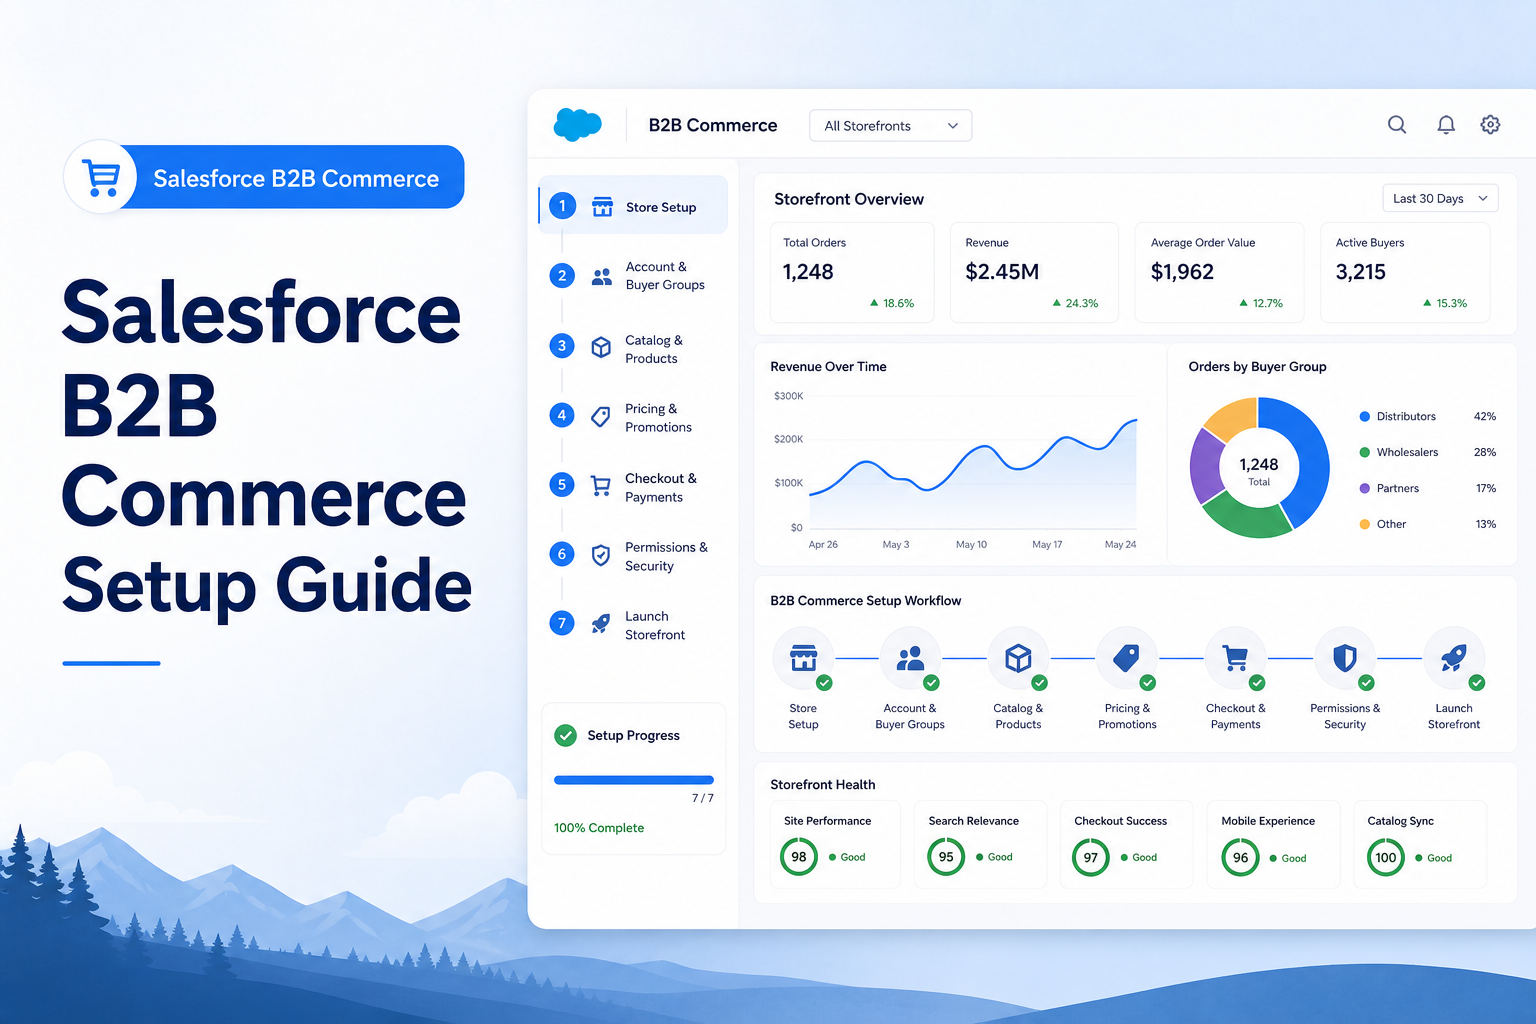
Salesforce B2B Commerce Setup Guide
Step-by-step guide to setting up and configuring a Salesforce B2B Commerce storefront from scratch.
Salesforce Developer
Introduction
Salesforce B2B Commerce enables organizations to provide a seamless online purchasing experience for business customers. It allows buyers to browse products, manage accounts, place orders, and track purchases through a self-service portal integrated with Salesforce CRM.
This document outlines the key steps required to configure a Salesforce B2B Commerce storefront.
Prerequisites
Before setting up B2B Commerce, ensure that:
- Salesforce B2B Commerce licenses are available.
- Experience Cloud is enabled.
- Required user profiles and permissions are assigned.
- Product catalog data is prepared.
- Tax and shipping requirements are defined.
Step 1: Enable B2B Commerce
- Navigate to Setup.
- Search for Commerce Settings.
- Enable:
- Commerce
- B2B Commerce
- Save the configuration.
Step 2: Create Buyer Account
A Buyer Account represents a customer organization.
- Navigate to Accounts.
- Create a new Account.
- Select the appropriate Account Record Type.
- Populate required business information.
- Save the record.
Step 3: Create Buyer User
- Create a Contact under the Buyer Account.
- Enable the Contact as a Community User.
- Assign a Buyer User Profile.
- Grant required Permission Sets.
The Buyer User will be able to access the storefront and place orders.
Step 4: Create Web Store
- Navigate to Digital Experiences → All Sites.
- Create or select an Experience Cloud site.
- Navigate to Web Stores.
- Create a new Web Store.
- Associate the Experience Cloud site with the Web Store.
Required Configuration:
- Name
- Default Language
- Currency
- Storefront URL
Step 5: Configure Catalog
Catalogs organize products available to buyers.
- Navigate to Catalogs.
- Create a Catalog.
- Define:
- Catalog Name
- Active Status
- Save the Catalog.
Step 6: Create Product Categories
- Open the Catalog.
- Create Category Hierarchy.
Example:
Electronics
├── Laptops
├── Accessories
└── Monitors
Categories help buyers browse products efficiently.
Step 7: Create Products
- Navigate to Products.
- Create Product Records.
- Populate:
- Product Name
- Product Code
- Description
- Product Image
- Product Status
- Activate products.
Step 8: Configure Price Books
- Create a Price Book.
- Add Products.
- Define Product Prices.
- Activate the Price Book.
Price Books determine the selling price displayed in the storefront.
Step 9: Create Entitlements
Entitlements control which products buyers can view.
- Create Buyer Groups.
- Assign Buyer Accounts.
- Associate Catalogs and Price Books.
- Configure Product Visibility.
This ensures customers only see products relevant to their business.
Step 10: Configure Checkout
Configure checkout settings including:
- Billing Address
- Shipping Address
- Payment Methods
- Order Confirmation
- Tax Calculation
These settings define the buyer purchasing experience.
Step 11: Configure Shipping
- Create Shipping Methods.
- Define Shipping Charges.
- Configure Delivery Options.
Examples:
- Standard Shipping
- Express Shipping
- Overnight Delivery
Step 12: Configure Payment Methods
Supported payment methods may include:
- Credit Card
- Purchase Order
- ACH Payments
- External Payment Gateway Integrations
Configure payment providers according to business requirements.
Step 13: Publish Storefront
- Open Experience Builder.
- Review Store Pages.
- Publish the Site.
- Verify Storefront Accessibility.
Step 14: Test End-to-End Flow
Perform testing for:
- Buyer Login — User authentication, account access
- Product Browsing — Category navigation, search functionality
- Cart Management — Add products, update quantities, remove products
- Checkout — Address selection, shipping selection, payment processing
- Order Management — Order creation, order confirmation, order history
B2B Commerce Data Relationships
Account → Buyer Group → Catalog → Category → Product → Price Book → Cart → OrderThis relationship forms the foundation of the B2B Commerce storefront experience.
Best Practices
- Use Buyer Groups for customer segmentation.
- Maintain separate catalogs for different regions.
- Implement product entitlements for controlled visibility.
- Configure role-based access for users.
- Perform comprehensive UAT before production deployment.
- Integrate with ERP and OMS systems for order fulfillment.
Conclusion
Salesforce B2B Commerce provides a scalable platform for digital business purchasing. Proper configuration of Accounts, Buyers, Catalogs, Products, Pricing, Checkout, and Order Management ensures a seamless purchasing experience and supports business growth.