
Candidate Management & Email Automation System in Salesforce
Build a Salesforce-native candidate management system with automated HR notifications and candidate confirmation emails using Flows and Email Alerts.
Salesforce Developer
1. Project Objective
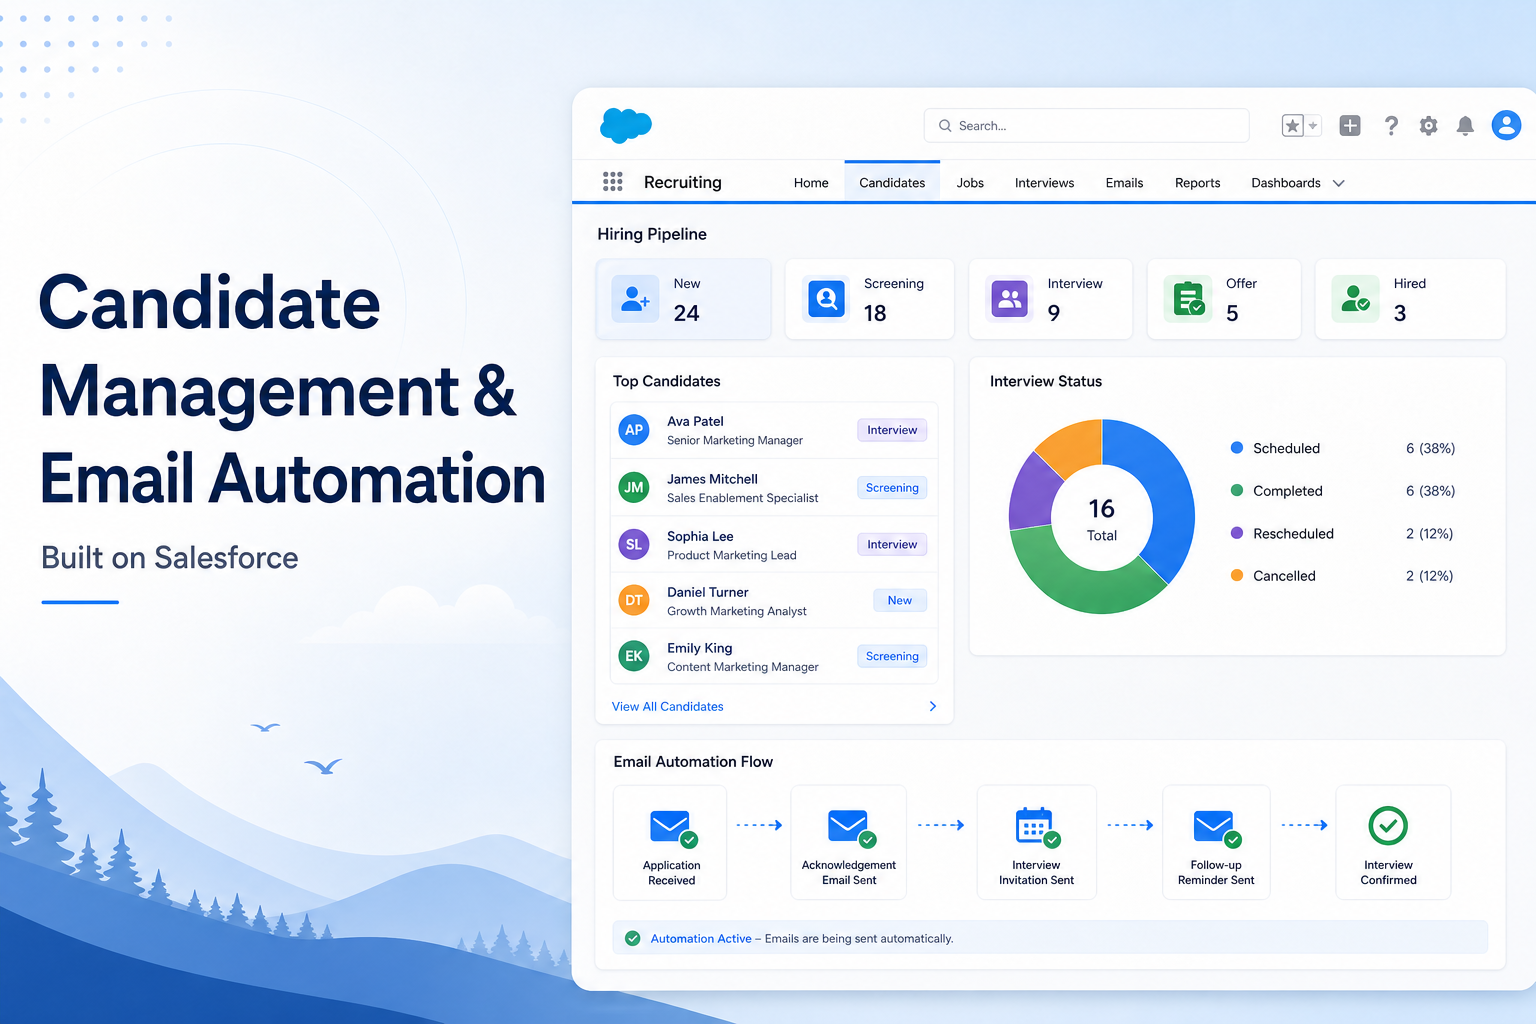
This guide covers the end-to-end implementation of a Candidate Management and Email Automation solution on the Salesforce platform. The project eliminates manual recruitment communication by automating key email notifications using custom objects, Record-Triggered Flows, Email Alerts, and branded Lightning Email Templates.
By the end of this guide, your Salesforce org will:
- Maintain all candidate details in a single custom object (Candidate__c)
- Automatically notify HR and the CEO when a new candidate record is created
- Automatically send a branded confirmation email to the candidate when their status changes to Confirmed
- Have all components packaged and deployable to any other Salesforce org
2. Technologies Used
| Area | Detail |
|---|---|
| Platform | Salesforce (Lightning Experience) |
| Custom Object | Candidate__c |
| Automation | Record-Triggered Flow (After Save) |
| Lightning Email Templates (HTML) + Email Alerts | |
| Branding | Salesforce Static Resources (company logo) |
| Deployment | Salesforce Package Manager (Unlocked Package) |
3. Custom Object & Fields — Candidate__c
3.1 Create the Custom Object
- Go to Setup (gear icon, top right) and click Setup.
- In the Quick Find box, type Object Manager and select it.
- Click the Create dropdown (top right) and select Custom Object.
- Fill in the following:
- Label: Candidate
- Plural Label: Candidates
- Object Name: Candidate__c (auto-filled)
- Under Optional Features, check:
- Allow Reports
- Allow Activities
- Track Field History (important for Status changes)
- Click Save.
3.2 Create Custom Fields
Navigate to Candidate__c in Object Manager, click Fields & Relationships, then New for each field below.
| Field | Definition |
|---|---|
| Type: Email | Field Name: Email__c | Required: Yes | |
| Phone | Type: Phone | Field Name: Phone__c |
| Role | Type: Text | Length: 100 | Field Name: Role__c |
| Current Company | Type: Text | Length: 255 | Field Name: Current_Company__c |
| Last Company | Type: Text | Length: 255 | Field Name: Last_Company__c |
| Skills | Type: Long Text Area | Length: 32768 | Field Name: Skills__c |
| Experience | Type: Number | Decimal Places: 0 | Field Name: Experience__c (years) |
| Status | Type: Picklist | Values: New; Interviewing; Confirmed; Rejected | Field Name: Status__c |
| Notice Period | Type: Number | Decimal Places: 0 | Field Name: Notice_Period__c (days) |
| Onboarding Date | Type: Date | Field Name: Onboarding_Date__c |
| Comments | Type: Long Text Area | Length: 32768 | Field Name: Comments__c |
After creating all fields, go to Setup > Profiles > HR Profile and set Field-Level Security to Visible for each field.
4. Step-by-Step: Create Lightning Email Templates
4.1 Upload the Company Logo as a Static Resource
- Go to Setup > Static Resources > New.
- Name the resource (e.g., CompanyLogo). Click Choose File and upload your logo image (PNG or JPG).
- Set Cache Control to Public.
- Click Save. Note the resource name — you will use it in the email template HTML.
- To get the logo URL for use in HTML:
/resource/CompanyLogo(relative) or the full URL from the Static Resource detail page.
4.2 Create Email Template 1: HR Notification
- Open App Launcher (9-dot grid), search for Email Templates, and open it.
- Click New Email Template.
- Fill in:
- Name: New_Candidate_HR_Alert
- Related Entity Type: Candidate__c
- Template Type: Custom (HTML)
- In the body, write your HTML. Include these merge fields:
{!Candidate__c.Name}— candidate full name{!Candidate__c.Role__c}— applied role{!Candidate__c.Experience__c}— years of experience{!Candidate__c.Email__c}— candidate email
- Add the logo using an
<img>tag:<img src="/resource/CompanyLogo" style="width:150px;" /> - Click Save.
4.3 Create Email Template 2: Candidate Confirmation
- Click New Email Template again.
- Fill in:
- Name: Candidate_Confirmation_Email
- Related Entity Type: Candidate__c
- Template Type: Custom (HTML)
- In the body, include:
{!Candidate__c.Name}— personalized greeting{!Candidate__c.Role__c}— position they are confirmed for{!Candidate__c.Onboarding_Date__c}— their joining date
- Add the company logo and a congratulations message.
- Click Preview to verify merge fields render. Then Save.
5. Step-by-Step: Create Email Alerts
5.1 Create Alert 1 — HR Notification
- Go to Setup > Quick Find > Email Alerts > New Email Alert.
- Fill in:
- Description: New_Candidate_HR_Alert
- Unique Name: New_Candidate_HR_Alert (auto-filled)
- Object: Candidate
- Email Template: New_Candidate_HR_Alert (from step 4.2)
- Under Recipients, set Type to Role and select HR. Add another recipient for CEO (Role or specific user).
- Click Save.
5.2 Create Alert 2 — Candidate Confirmation
- Click New Email Alert again.
- Fill in:
- Description: Candidate_Confirmation_Email
- Object: Candidate
- Email Template: Candidate_Confirmation_Email (from step 4.3)
- Under Recipients, set Type to Email Field and select the Email__c field. This sends to the candidate's own email address.
- Click Save.
6. Step-by-Step: Build the Record-Triggered Flow
6.1 Create a New Flow
- Go to Setup > Flows > New Flow.
- Select Record-Triggered Flow. Click Create.
- Set Object to Candidate. Trigger to: A record is created or updated.
- Set Optimize the Flow for to Actions and Related Records.
- Click Done.
6.2 Add a Decision Element
- Click the + icon on the flow canvas and select Decision.
- Label the Decision: Check Trigger Condition.
- Add Outcome 1 — New Record Created:
- Label: Is New Record
- Condition:
{!$Record__Prior.Id}IS NULL equals true (or use ISNEW() formula resource)
- Add Outcome 2 — Status Confirmed:
- Label: Status Is Confirmed
- Condition 1:
{!$Record.Status__c}Equals Confirmed - Condition 2:
{!$Record__Prior.Status__c}Does Not Equal Confirmed (ISCHANGED check)
- Set Default Outcome to: Neither Condition Met (connects to End).
6.3 Add Email Alert Action for Path A — HR Notification
- From the Is New Record outcome path, click + and select Action.
- Search for and select Email Alert.
- In the Email Alert field, search for and select New_Candidate_HR_Alert.
- Set the Record ID field to
{!$Record.Id}. - Click Done. Connect this element to the End element.
6.4 Add Email Alert Action for Path B — Candidate Confirmation
- From the Status Is Confirmed outcome path, click + and select Action.
- Select Email Alert.
- In the Email Alert field, search for and select Candidate_Confirmation_Email.
- Set Record ID to
{!$Record.Id}. - Click Done. Connect to the End element.
6.5 Save and Activate the Flow
- Click Save. Enter:
- Flow Label: Candidate Management Email Automation
- API Name: Candidate_Management_Email_Automation
- Click Save.
- Click Activate. Confirm activation.
7. Testing
7.1 Test HR Notification (New Record)
- Navigate to the Candidate tab (or App Launcher > Candidates).
- Click New. Enter a test candidate name, email, role, and status = New.
- Click Save.
- Check the HR email inbox and CEO email inbox — both should receive the HR notification email within a few seconds.
7.2 Test Candidate Confirmation (Status Change)
- Open the test candidate record you just created.
- Click Edit. Change Status from New to Confirmed.
- Click Save.
- Check the candidate's email inbox — they should receive the confirmation email with their name, role, and onboarding date.
7.3 Verify Flow Execution Logs
- Go to Setup > Flows > Find your flow > Pause and Resume (or use Flow Error Emails if the flow fails).
- To view recent runs: Setup > Flow Error Email or use Debug in Flow Builder.
- Confirm both paths executed without errors.
8. Packaging & Deployment
8.1 Create an Unlocked Package
- Go to Setup > Package Manager > New.
- Enter Package Name: CandidateManagement. Click Save.
- Click Add Components. Add all of the following:
- Candidate__c — custom object and all its fields
- Candidate Management Email Automation — the Record Triggered Flow
- New_Candidate_HR_Alert — Email Template 1
- Candidate_Confirmation_Email — Email Template 2
- New_Candidate_HR_Alert — Email Alert 1
- Candidate_Confirmation_Email — Email Alert 2
- CompanyLogo — Static Resource
- Click Add to Package for each component.
8.2 Validate and Upload
- Click Upload. Enter Version Name and Version Number. Click Upload.
- Wait for the upload to complete. Salesforce validates all dependencies during upload.
- If validation fails, check: (a) Email Alerts reference templates by name, not ID; (b) No hardcoded Salesforce record IDs exist in templates.
- Once successful, copy the Installation URL from the package detail page.
8.3 Install in Target Org
- Log in to the target Salesforce org.
- Paste the installation URL into the browser address bar and press Enter.
- Select Install for All Users (recommended). Click Install.
- After installation completes, go to Object Manager and verify Candidate__c is present with all fields.
- Go to Setup > Flows and verify the flow is installed (activate it if inactive).
- Run the same tests from Section 7 to confirm the automation works in the new org.
9. Future Enhancements
- Resume Upload: Allow recruiters to attach candidate CVs as Salesforce Files (ContentDocument) linked to the Candidate__c record. Add a File upload component on the candidate Lightning page.
- Auto-Create Contact: Trigger a second flow path that creates a Contact record linked to a recruitment Account when Status changes to Confirmed, enabling full CRM tracking post-hire.
- Dashboard & Reporting: Build Salesforce reports and dashboards for: pipeline by status, time-to-hire metrics, source channel analysis, and recruiter performance.
- External Integration: Use Salesforce APIs or MuleSoft to sync candidates from external job portals (LinkedIn, Naukri, Indeed) directly into Candidate__c.
- Approval Process: Add a Salesforce Approval Process before Status can be changed to Confirmed, requiring manager sign-off via email.
10. Conclusion
The Candidate Management & Email Automation system built on Salesforce delivers a fully automated, end-to-end recruitment communication workflow. By following the steps in this guide, organizations can deploy a professional-grade solution with zero manual email effort, consistent branding, and full package-portability across Salesforce orgs.
This solution is a strong foundation for further expansion into a complete Salesforce-native applicant tracking system (ATS).