
Salesforce B2B Commerce Cloud Parent Product & Variation Product Setup Guide
Configure parent products and variation products efficiently in Salesforce B2B Commerce Cloud.
Salesforce Developer
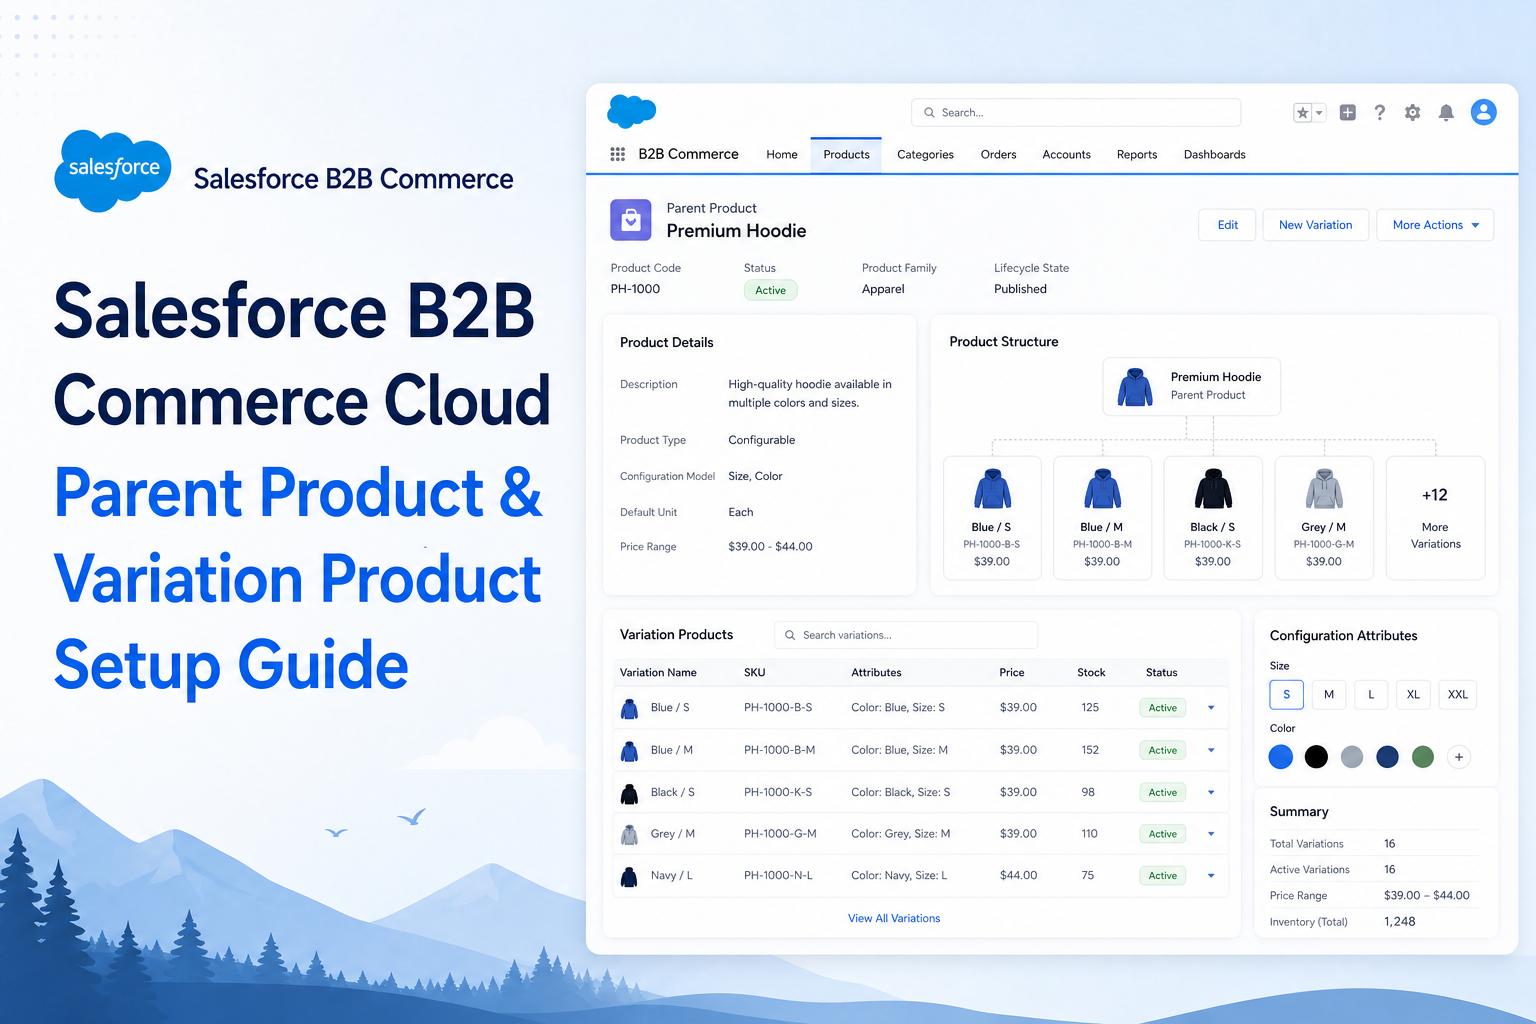
Overview
Variation Products are used when a product has multiple options such as:
- Size (S, M, L, XL)
- Color (Red, Blue, Black)
- Material
- Storage Capacity
Example:
Parent Product:
- T-Shirt
Variation Products:
- T-Shirt / Red / Small
- T-Shirt / Red / Medium
- T-Shirt / Blue / Small
- T-Shirt / Blue / Medium
Customers see one product page and select variations.
Step 1: Create Product Classification
Navigate: Commerce App → Product Workspace
Create: Product Category
Example:
- Apparel
- Electronics
- Shoes
Assign products under categories.
Step 2: Create Variation Attributes
Navigate: Product Workspace → Attributes
Create Attribute: Color
Values:
- Red
- Blue
- Black
Create Attribute: Size
Values:
- Small
- Medium
- Large
These attributes will become variation selectors on the Product Detail Page (PDP).
Step 3: Create Parent Product
Navigate: Product Workspace → Products → New
Example: Product Name: T-Shirt
Fields:
- Product Type = Parent
- Is Active = True
- SKU = TSHIRT_PARENT
Important: Parent Product is NOT directly purchased.
Purpose:
- Display product information
- Hold variation relationship
Save Product.
Step 4: Create Variation Products
Create individual child products.
| Variation | Name | SKU | Product Type |
|---|---|---|---|
| Variation 1 | T-Shirt Red Small | TS-RED-S | Variation |
| Variation 2 | T-Shirt Red Medium | TS-RED-M | Variation |
| Variation 3 | T-Shirt Blue Small | TS-BLU-S | Variation |
Each variation has:
- Own SKU
- Own Inventory
- Own Price
- Own Images
Save all variation products.
Step 5: Create Product Variation Group
Navigate: Parent Product → Related Lists → Variation Products
Click: Add Variation Product
Select:
- TS-RED-S
- TS-RED-M
- TS-BLU-S
- TS-BLU-M
Link all child products to parent.
Step 6: Assign Variation Attribute Values
For each variation assign values.
| SKU | Color | Size |
|---|---|---|
| TS-RED-S | Red | Small |
| TS-RED-M | Red | Medium |
| TS-BLU-S | Blue | Small |
| TS-BLU-M | Blue | Medium |
Now Salesforce knows which combination belongs to which SKU.
Step 7: Add Pricing
Navigate: Price Book
Create entries:
| SKU | Price |
|---|---|
| TS-RED-S | ₹500 |
| TS-RED-M | ₹550 |
| TS-BLU-S | ₹500 |
| TS-BLU-M | ₹550 |
Pricing can vary by variation.
Step 8: Add Inventory
Navigate: Inventory
Add inventory records.
| SKU | Quantity |
|---|---|
| TS-RED-S | 100 |
| TS-RED-M | 50 |
| TS-BLU-S | 75 |
| TS-BLU-M | 40 |
Inventory is maintained at variation level.
Step 9: Add Images
Parent Product: General product image.
Variation Product: Specific images.
Example:
- Red Variation → Red Shirt Image
- Blue Variation → Blue Shirt Image
When buyer selects Blue, image changes automatically.
Step 10: Add Product to Catalog
Navigate: Catalogs
Add: Parent Product
Only the parent product usually appears in storefront listing. Variations appear after selection.
Storefront Behaviour
Buyer Opens: T-Shirt
Displays:
- Color: ○ Red ○ Blue
- Size: ○ Small ○ Medium
Selection: Blue + Medium
System Automatically Selects:
- TS-BLU-M SKU
- Price: ₹550
- Inventory: 40 Available
Add To Cart
Actual SKU added: TS-BLU-M
Data Model
Parent Product
  |
  |-- TS-RED-S
  |-- TS-RED-M
  |-- TS-BLU-S
|-- TS-BLU-M| Element | Role |
|---|---|
| Parent Product | Display Only |
| Variation Product | Purchasable Product |
| Inventory | Variation Level |
| Pricing | Variation Level |
| Images | Variation Level |
| SKU | Variation Level |