
Git Basics – Local Repository and Remote Repository
Understand Git fundamentals including local repositories, remote repositories, commits, branches, and collaboration workflows.
Software Developer
Introduction
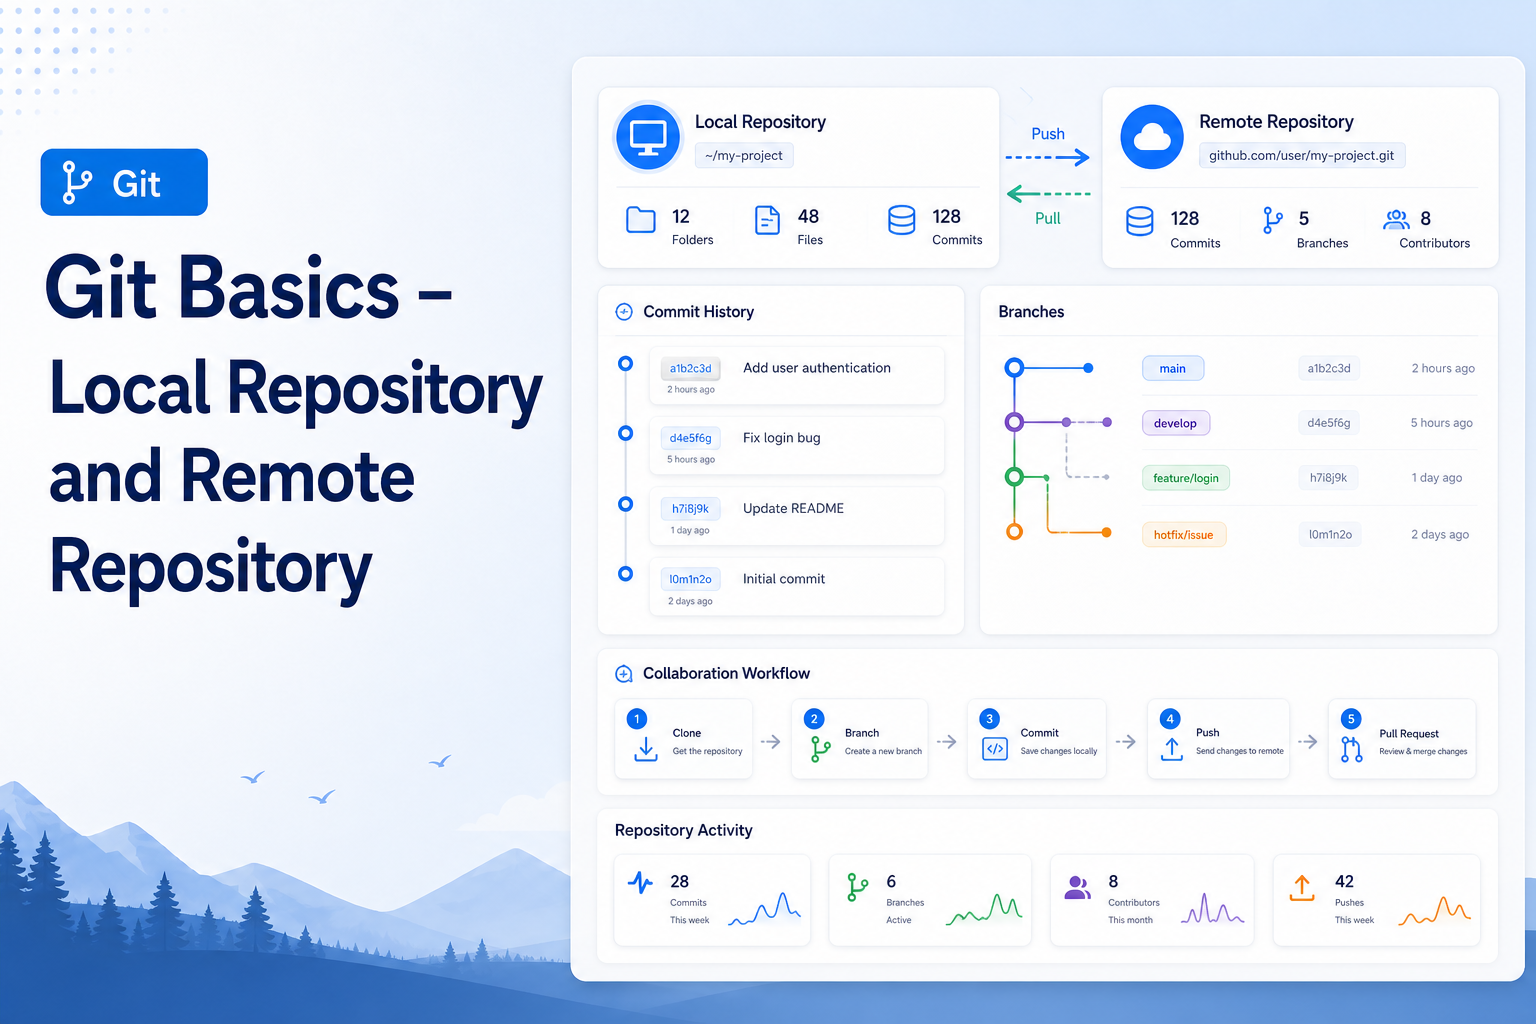
Git is a distributed version control system used to track changes in source code and collaborate with other developers. GitHub is a cloud-based platform that hosts Git repositories and provides collaboration features such as branching and pull requests.
Tools and Environment
The following tools are used throughout this guide:
Visual Studio Code (VS Code)
Visual Studio Code is used as the development environment for creating and editing project files. Git commands can be executed through the integrated terminal inside VS Code.
Git
Git is installed on the local computer and is responsible for tracking file changes, creating commits, and managing branches.
GitHub
GitHub is used as the remote repository platform. It stores code online and provides features such as repositories, branches, pull requests, and collaboration.
Working Flow
- Create and edit files in Visual Studio Code.
- Execute Git commands through the VS Code terminal.
- Store changes in the Local Repository.
- Push code to GitHub, which acts as the Remote Repository.
- Collaborate and merge changes using branches and pull requests.
Local Repository
A local repository is stored on your computer and allows you to manage source code changes before sharing them with others.
1. Configure Username and Email
Set your Git username and email address:
git config --global user.name "John Doe"
git config --global user.email "johndoe@example.com"
These values are used to identify the author of commits.
2. Set the Default Branch Name
Configure Git to use main as the default branch:
git config --global init.defaultBranch main3. Initialize a Repository
Create an empty Git repository:
git initThis creates a hidden .git folder that stores repository information.
4. Create Files and Check Status
Create project files in Visual Studio Code and check their status:
git statusThis command shows modified, untracked, and staged files.
Note: File names used in examples are only sample names.
5. Add a File to Git
Stage a specific file:
git add <file_name>Replace <file_name> with the actual file name in your project.
6. Commit Changes
Save changes with a meaningful message:
git commit -m "<meaningful_commit_message>"Commit messages should describe the purpose of the changes.
7. View Commit History
Display previous commits:
git logThis command shows commit hashes, authors, and commit messages.
8. Commit Multiple Files
Stage all files:
git add .Then commit them:
git commit -m "<meaningful_commit_message>"9. View Previous Commit
Copy the commit hash and use:
git checkout <commit_hash>This allows you to inspect an older version of the project.
10. Switch Back to Main Branch
Return to the main branch:
git checkout main11. Force Checkout
Discard recent uncommitted changes and switch branches:
git checkout -f mainUse this command carefully because unsaved modifications will be lost.
12. Check Repository Status
View the current state of the repository:
git statusRemote Repository
A remote repository is hosted on GitHub and allows developers to collaborate and back up code online.
1. Create a GitHub Account
Create an account at: https://github.com
2. Create a Repository
Create a new repository from the GitHub website.
3. Connect Local Repository to GitHub
Add the remote repository:
git remote add origin <repository_url>Push the local repository to GitHub:
git push -u origin mainThe -u option sets the upstream branch.
4. Authorize Git Ecosystem
Authenticate Git with GitHub using your credentials or Personal Access Token (PAT).
5. Use Multiple Branches
Git allows developers to create and work with multiple branches independently.
6. Create a Branch
Create a new branch:
git branch <branch_name>7. Switch to a Branch
Move to another branch:
git checkout <branch_name>8. Create and Switch in One Command
Create and switch to a branch:
git checkout -b <new_branch_name>9. Understanding Branch Copies
When a new branch is created, it copies the current branch's state.
For example:
- Creating a branch while on the main branch copies the contents of main.
- Creating another branch while currently working on a different branch copies the contents of the current branch.
10. Create a Branch from a Specific Branch
Create a branch from another branch:
git branch <new_branch_name> <source_branch_name>Here, the new branch is created using the specified source branch.
11. Push a Local Branch to GitHub
Upload a branch to the remote repository:
git push --set-upstream origin <branch_name>
# or
git push -u origin <branch_name>
This creates the branch on GitHub and links it with the local branch.
12. Merge Changes Using Pull Requests
After completing work:
- Push the branch to GitHub.
- Create a Pull Request (PR).
- Review the changes.
- Merge the Pull Request.
- Confirm the merge.
13. Delete Branch After Merge
Once the Pull Request is merged, the branch can be deleted using the Delete Branch option on GitHub.
14. Get Latest Changes
Download the latest changes from the remote repository:
git pull15. Fetch New Branches Created on GitHub
If a branch was created directly on GitHub, retrieve it locally:
git fetchAfter fetching, the branch becomes visible in Visual Studio Code and Git.
Conclusion
Visual Studio Code, Git, and GitHub work together to provide an efficient source code management workflow. Developers create and edit files in VS Code, manage versions locally with Git, and store and collaborate on code remotely through GitHub. The examples used in this document are for learning purposes only and should be adapted according to the requirements of each project.