
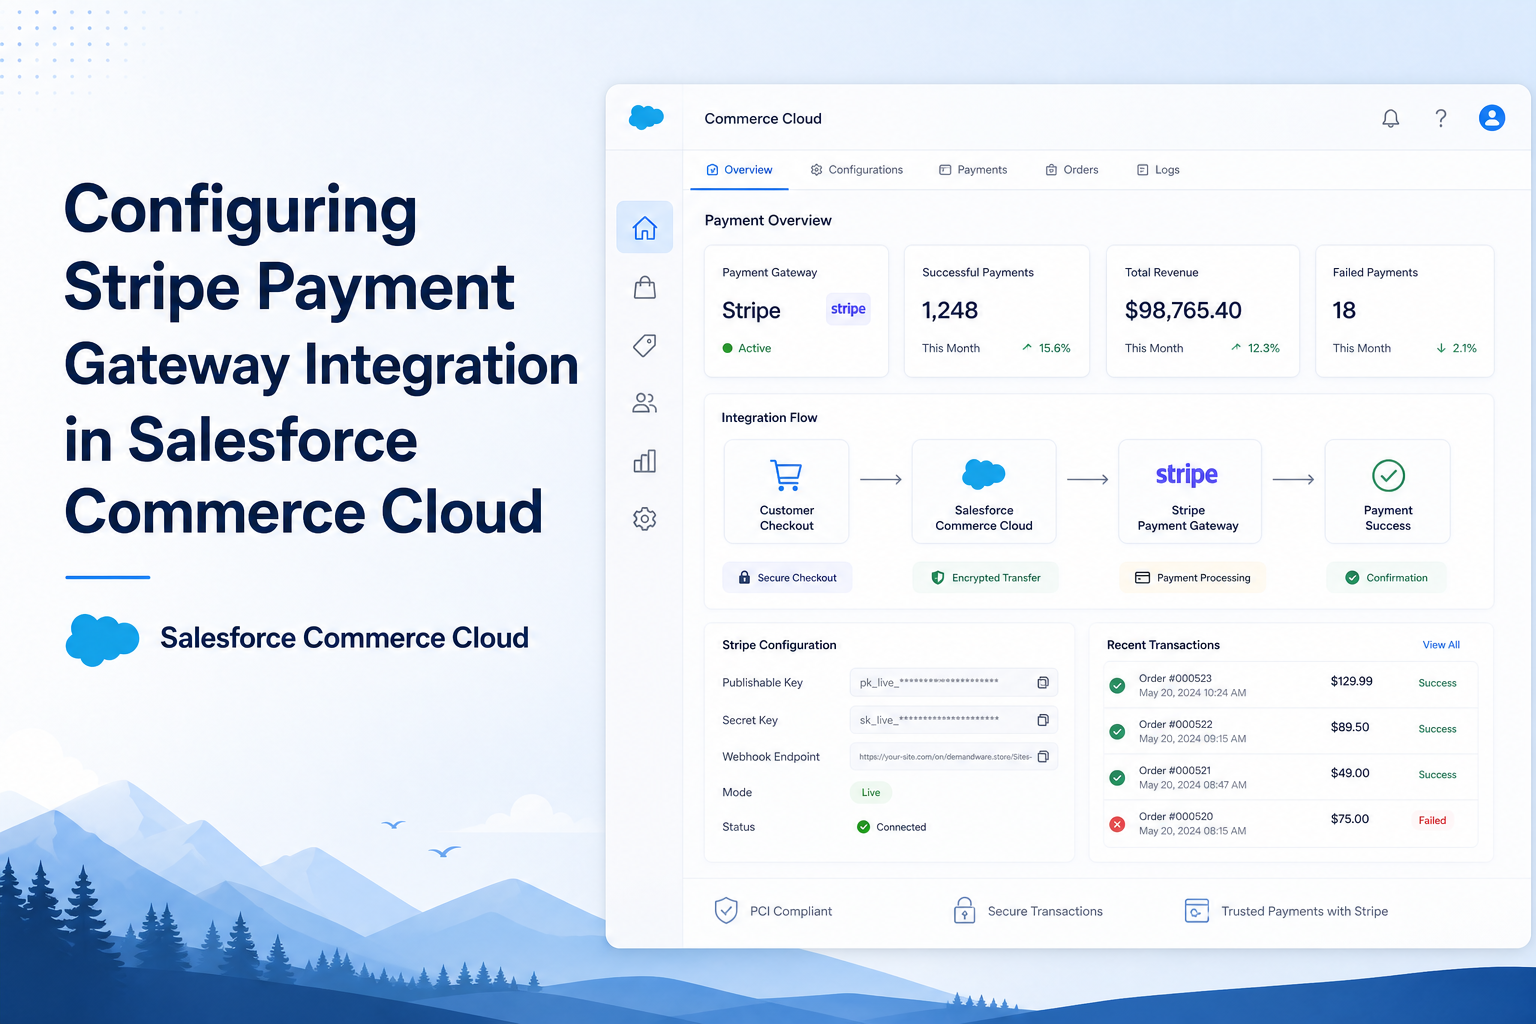
Configuring Stripe Payment Gateway Integration in Salesforce Commerce Cloud
Integrate Stripe payment gateway into Salesforce Commerce Cloud for secure online payment processing.
Salesforce Commerce Cloud Developer
Abstract
Modern e-commerce applications require secure and reliable online payment processing. This document explains how to configure a mock Stripe Payment Gateway integration in Salesforce Commerce Cloud using Apex classes, Named Credentials, Payment Gateway Providers, and storefront payment mapping. The solution uses custom Apex adapters to simulate Stripe API transactions and provides a reusable framework for testing payment integrations in sandbox or development environments.
Introduction
Salesforce Commerce Cloud provides flexible payment integration capabilities that allow organizations to connect third-party payment providers such as Stripe, PayPal, and Authorize.Net.
This implementation demonstrates a basic mock setup of Stripe payment integration using:
- Custom Apex adapter classes
- Named Credentials
- Payment Gateway Provider configuration
- Commerce Storefront payment mapping
The configuration simulates how Salesforce Commerce communicates with Stripe payment services during checkout operations.
Solution Architecture
Process Flow
Customer Checkout
        ↓
Salesforce Commerce Storefront
        ↓
Stripe Payment Adapter (Apex)
        ↓
Named Credential Authentication
        ↓
   Stripe REST API
        ↓
Payment Authorization Response
        ↓
   Order Confirmation
Prerequisites
Before implementation, ensure the following prerequisites are completed:
- Salesforce Commerce Cloud environment access
- System Administrator permissions
- Workbench access
- Access to Apex Classes
- GitHub repository access
- Internet connectivity
Required Repository: https://github.com/tzarrsf/b2b-commerce-gtk-admin
Step-by-Step Implementation
Step 1 — Create Apex Classes
Navigate to: Setup → Apex Classes
Create the following Apex classes from the repository:
- StripeValidationException
- QueryUtils
- StripeAdapter
GitHub Reference: https://github.com/tzarrsf/b2b-commerce-gtk-admin/blob/main/codev2/StripeAdapter.cls
Steps:
- Open Setup
- Search for Apex Classes
- Click New
- Copy class contents from repository
- Save the class
Reason: The StripeAdapter class depends on the utility and exception classes.
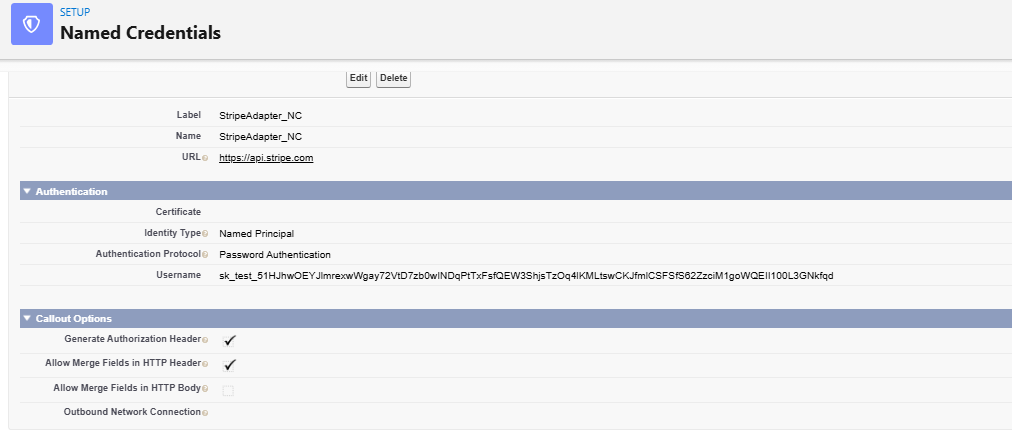
Step 2 — Create Named Credential
Named Credentials provide secure authentication management for external API integrations.
Navigation: Setup → Security → Named Credentials
Click: New → New Legacy
Configuration:
| Field | Value |
|---|---|
| Label | StripeAdapter_NC |
| Name | StripeAdapter_NC |
| URL | https://api.stripe.com |
| Identity Type | Named Principal |
| Authentication Protocol | Password Authentication |
| Username | Stripe Secret Key |
| Password | test1234 |
| Generate Authorization Header | Checked |
| Allow Merge Fields in HTTP Header | Checked |
Purpose: The Named Credential securely stores Stripe authentication details and eliminates the need to hardcode credentials in Apex classes.
Step 3 — Query Apex Class Using Workbench
Navigate to Workbench: Queries → SOQL Query
Object: ApexClass
SOQL Query:
SELECT Id, Name
FROM ApexClass
WHERE Name LIKE 'StripeAdapt%'
Purpose: This query retrieves the StripeAdapter Apex Class ID required during Payment Gateway Provider creation.
Make note of the returned Apex Class ID.
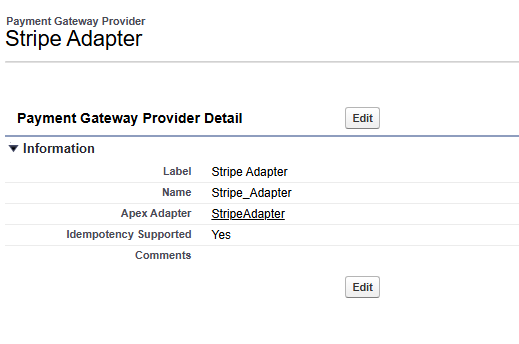
Step 4 — Create Payment Gateway Provider
Navigate in Workbench: Data → Insert
Select Object: PaymentGatewayProvider
Configuration:
| Field | Value |
|---|---|
| ApexAdapterId | StripeAdapter Apex Class ID |
| DeveloperName | Stripe_Adapter |
| IdempotencySupported | Yes |
| MasterLabel | Stripe Adapter |
Click: Confirm Insert
Purpose: The Payment Gateway Provider connects the Commerce payment framework with the custom Apex adapter.
Step 5 — Create Payment Gateway
Navigation: App Launcher → Payment Gateways
Click: New
Configuration:
| Field | Value |
|---|---|
| Payment Gateway Name | Stripe |
| Payment Gateway Provider | Stripe Adapter |
| Merchant Credential | StripeAdapter_NC |
| Status | Active |
Click: Save
Expected Result: Payment Gateway "Stripe" was created successfully.
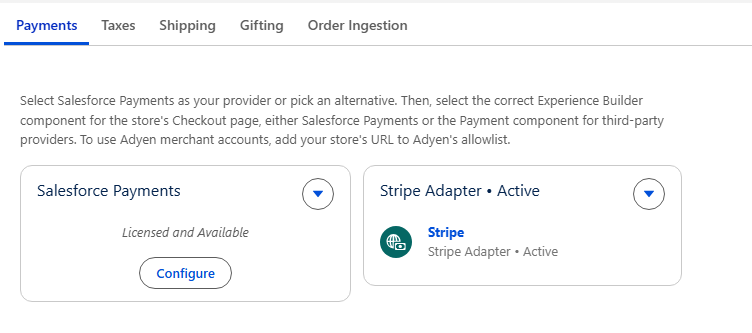
Step 6 — Map Payment Integration to Storefront
Navigation: Commerce App → Store → Administration → Payments
Steps:
- Click Select Provider
- Select Stripe Adapter
- Click Next
- Click Confirm
Expected Result: Card Payment Gateway mapping created; success toast notification displayed.
Apex Integration Overview
The StripeAdapter Apex class acts as the integration layer between Salesforce Commerce and Stripe APIs.
Responsibilities:
- Payment authorization
- Payment request handling
- API callouts
- Response processing
- Error handling
Real-Time Business Use Cases
This integration architecture can be used in:
- E-commerce checkout systems
- Online payment processing
- Subscription billing platforms
- Order management systems
- Commerce payment authorization
- Enterprise payment integrations
Conclusion
The Stripe Payment Gateway mock setup demonstrates how Salesforce Commerce Cloud can integrate with external payment providers using Apex adapters, Named Credentials, and Commerce payment configurations.
This implementation provides a foundational understanding of:
- Commerce payment architecture
- External API integrations
- Payment gateway configuration
- Secure authentication handling
The solution can be extended further for enterprise-grade payment processing implementations and real-time e-commerce integrations.
Screenshots
Named Credentials
Payment Gateway Provider
Map Payment Integration to stripe
References
GitHub Repository: https://github.com/tzarrsf/b2b-commerce-gtk-admin
Stripe API: https://api.stripe.com