Building a Multi-Store eCommerce Platform on Salesforce Experience Cloud
Design and develop a scalable multi-store eCommerce platform using Salesforce Experience Cloud and Lightning Web Components.
Salesforce Developer
1. Abstract
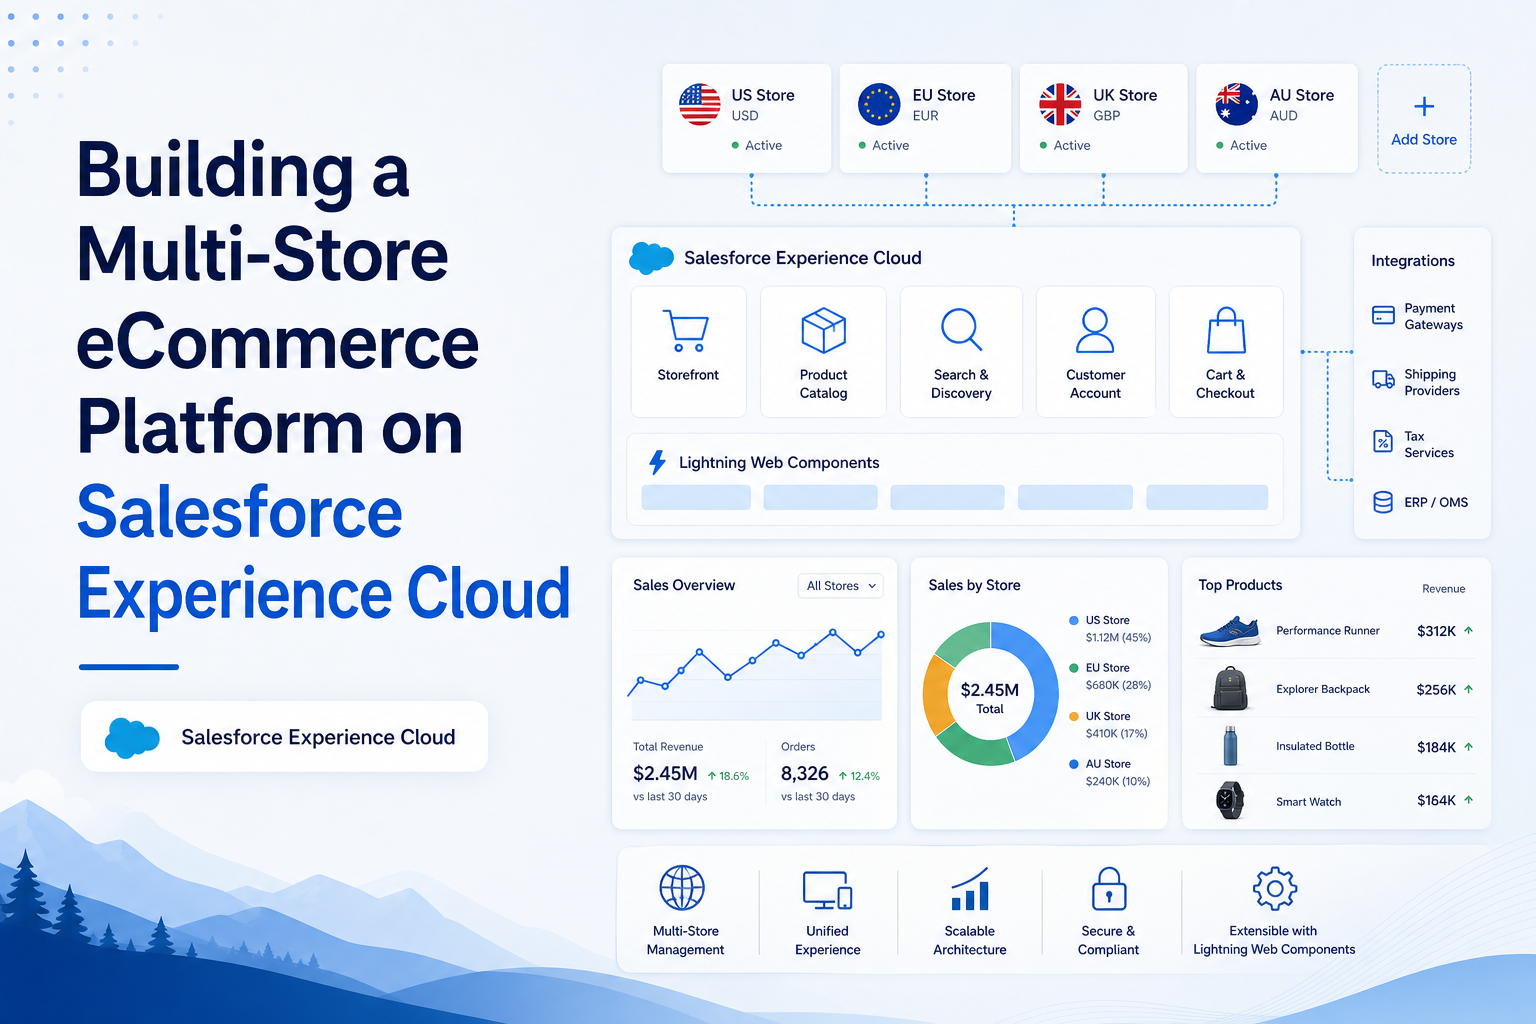
This project demonstrates how two distinct eCommerce storefronts—SUBSEL (Fashion) and MEDSEL (Medical)—were built within a single Salesforce org using a shared codebase. By leveraging Salesforce Experience Cloud, LWC, Apex, and custom objects, store-specific elements such as branding, themes, layouts, categories, and products are dynamically controlled through a single active Store__c record. This approach enables administrators to manage and switch between storefronts without requiring code changes, providing a scalable and maintainable multi-store solution.
| Attribute | Detail |
|---|---|
| Platform | Salesforce Experience Cloud (LWC + Apex) |
| Custom Objects | Store__c, Listing__c, Category__c, Cart__c, Cart_Item__c, Order__c, Order_Item__c |
| UI Pattern | Admin-configurable multi-store with dynamic theming and layout switching |
| Project Name | SUBSEL / MEDSEL — Dual-Store eCommerce Platform |
| Stores Built | Fashion Store (SUBSEL) + Medical Store (MEDSEL) |
2. Solution
The solution has three connected layers — the data model, the theme system, and the layout system. Together they make the entire store appearance configurable from a single Salesforce record.
The Data Model — Store__c as the Control Record
Every store in the platform is one Store__c record. The active store drives everything — which products appear, which categories show, which cart a user belongs to, and now which theme and layout the site uses.
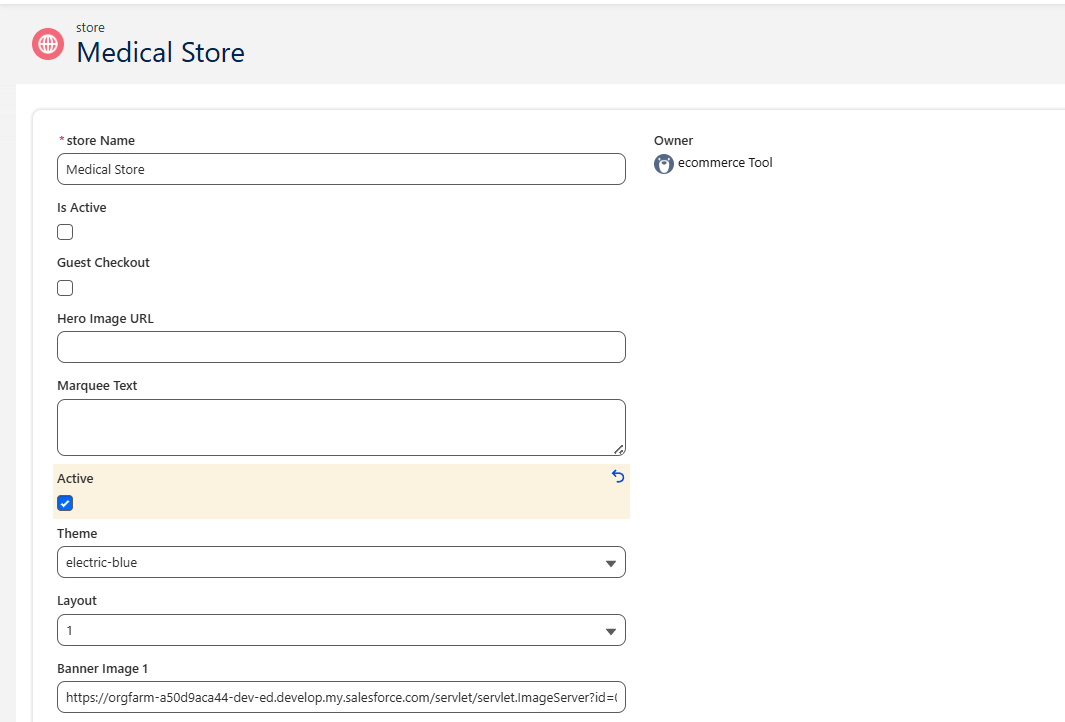
We added two new fields to make the platform truly config-driven:
- Theme__c (Picklist) — controls the full color palette of the entire site
- Layout__c (Picklist) — controls which page structure template renders
- Banner_Image_1__c (URL) — hero banner image, set per store
- Banner_Image_2__c (URL) — secondary banner image, set per store
The Theme System — Full Palette Injection
The application uses a dynamic theme system based on CSS variables. Instead of changing individual colors, each theme contains a complete color palette that controls the overall look and feel of the storefront. When a store is selected, its theme is applied automatically, allowing all components to update instantly without any code changes.
Available themes:
- Cream — Warm ivory background with caramel accents for Fashion stores.
- Midnight — Dark theme with amber highlights.
- Medical Green — White and green color scheme with red badges.
- Electric Blue — Clean white theme with blue accents.
- Ember — White and orange theme suitable for Food and Restaurant stores.
- Smoke — Minimal greyscale theme for Tech and SaaS stores.
The Layout System — Template Switching by Number
Instead of hardcoding store-type checks (isFashion, isMedical) throughout the templates, the layout is now a simple number. The HTML has three template blocks — if:true={isLayout1}, if:true={isLayout2}, if:true={isLayout3} — and the JS renders whichever one the store record specifies.
- Layout 1 — Split hero: hero text left, banner image right (Fashion style)
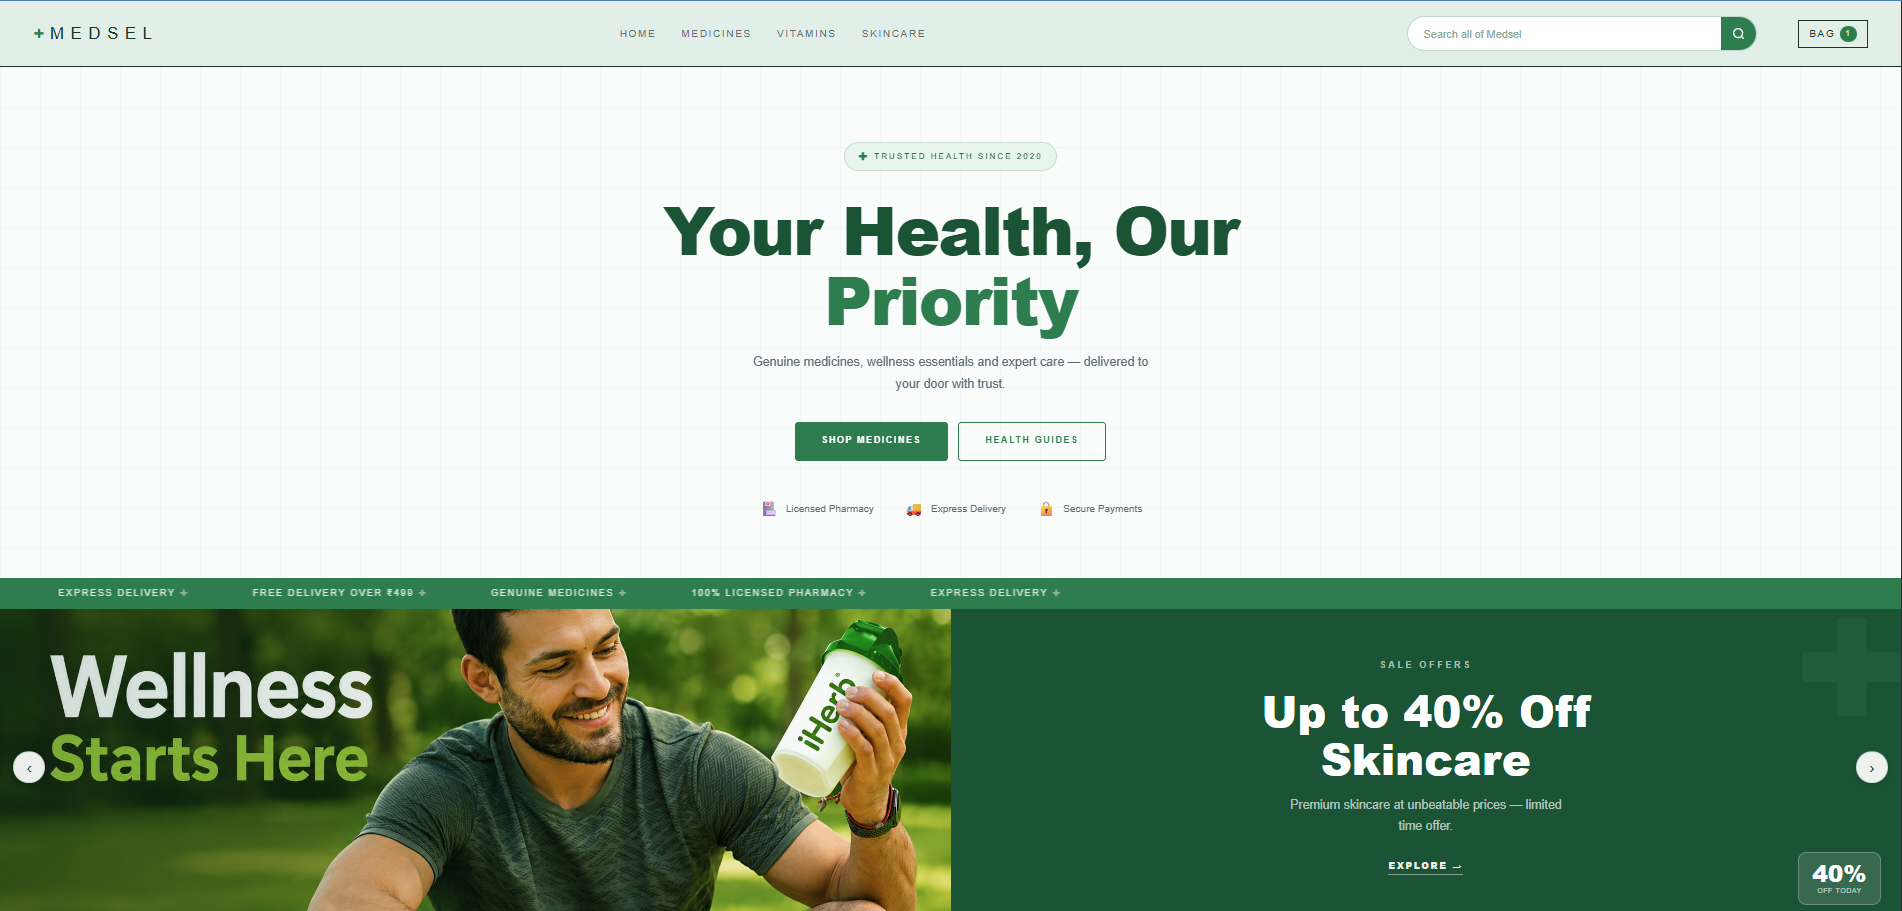
- Layout 2 — Centered hero with trust badges and carousel below (Medical style)
- Layout 3 — Full-width banner with text overlay (planned)
The Full Flow
Admin creates or edits a Store__c record
Sets Theme__c, Layout__c, Banner_Image_1__c, Banner_Image_2__c, Marquee_Text__c
Flips Active__c = true (only one store active at a time)
getActiveStore Apex method returns theme, layout, heroImage, bannerImage, marquee
Header JS injects the full theme palette into document.head via :root CSS
Home JS reads layout number and renders the correct template block
All components pick up correct colors via CSS variables automatically
Entire site looks and feels like a completely different store
3. Step-by-Step Guide
Add Config Fields to Store__c
In Salesforce Object Manager, open Store__c and create four new fields. Theme__c as a Picklist with values for each palette you want to offer (cream, midnight, medical-green, electric-blue etc.). Layout__c as a Picklist with values 1, 2, 3. Banner_Image_1__c and Banner_Image_2__c as URL(255) fields. Add all four to the page layout so admins can fill them in directly from the record detail page.
Update the Apex getActiveStore Method
Add the four new fields to the SOQL query on getActiveStore. Return them in the map alongside storeType — theme, layout, heroImage, bannerImage. Keep returning storeType for backward compatibility with any components not yet migrated. The default fallback values should be cream for theme, 1 for layout, and empty strings for images.
Define Theme Palettes in Header JS
In the Header LWC JavaScript, define a static THEMES object. Each key is a theme name matching the picklist values. Each value is a flat object of CSS variable name to hex color. Include all variables the site uses — --cream, --charcoal, --smoke, --bark, --accent, --sand, --white, and any store-specific variables like --mg, --mgreen-dark, --mgreen-light for the medical palette.
Inject the Palette via document.head
Write a _applyTheme method that looks up the palette from THEMES, converts it to a CSS string, and injects it into a style tag in document.head with a fixed id (subsel-theme-style). If the tag already exists, overwrite its content. This bypasses LWC shadow DOM so every component on the page gets the updated variables. Call this method from wiredStore whenever the active store data loads.
Add Layout Getters and Update Home JS
In the Home LWC, replace isFashion and isMedical with isLayout1, isLayout2, isLayout3 based on a tracked layout variable. Add tracked heroImage and bannerImage variables. In wiredStore, read data.layout, data.heroImage, and data.bannerImage from the Apex response. Replace the hardcoded static resource banner getters with simple return this.heroImage and return this.bannerImage.
Update Home HTML Template Blocks
Replace if:true={isFashion} and if:true={isMedical} with if:true={isLayout1} and if:true={isLayout2}. Each layout block is self-contained with its own hero, marquee, product grid, categories, reviews, and newsletter sections. The same product and category data wires feed both layouts — only the visual structure differs.
Fill Store Records with Correct Values
Fashion Store
- Theme__c = cream
- Layout__c = 1
- Banner_Image_1__c = /resource/homebanner
- Banner_Image_2__c = /resource/homebanner2
Medical Store
- Theme__c = medical-green
- Layout__c = 2
- Configure the appropriate medical banner image URLs.
Add New Stores Without Any Code
To launch a new store, such as an Electronics store, create a new Store__c record and configure the required settings:
- Set Theme__c to electric-blue.
- Select the appropriate Layout__c value.
- Configure the required banner image URLs.
- Enter the scrolling text in Marquee_Text__c.
- Create and link the relevant Category__c and Listing__c records.
- Check Active__c to make the store live.
Once activated, the storefront automatically switches to the new store configuration without requiring any code changes or deployments.
4. Architecture Overview
| Component | Role |
|---|---|
| Store__c | Master config record — one per store, one active at a time |
| Category__c | Product categories, linked to Store__c with image and banner URLs |
| Listing__c | Products with price, image, size, colour, flags for New/Sale/Lookbook |
| Cart__c | Active shopping session, scoped to store and identified by localStorage cartId |
| Cart_Item__c | Line items inside a cart with quantity, price, size |
| Order__c | Placed orders linked to store and account |
| Order_Item__c | Line items inside an order |
| EcommerceProductController | Single Apex class handling all data — products, cart, orders, store config |
| subecommerceHome | Home page — renders Layout 1 or Layout 2 based on Store__c.Layout__c |
| ecommerceNavHeader | Header — injects full theme palette, renders nav based on layout |
| subecommerceMiniCart | Slide-in cart preview, cart count badge, cart operations |
6. Conclusion
The project provides a simple and scalable way to manage multiple storefronts within Salesforce. Each store can have its own branding, theme, layout, and products while sharing the same codebase. New stores can be set up through configuration, making the solution easy to maintain and extend.
Key features:
- Store-specific themes and branding
- Configurable layouts
- Shared codebase for all stores
- Easy store setup through Salesforce
- Scalable for future store types
- Fully built on Salesforce Experience Cloud
7. Images / Screenshots
The original article includes key screens from the Med store and Fashion store,
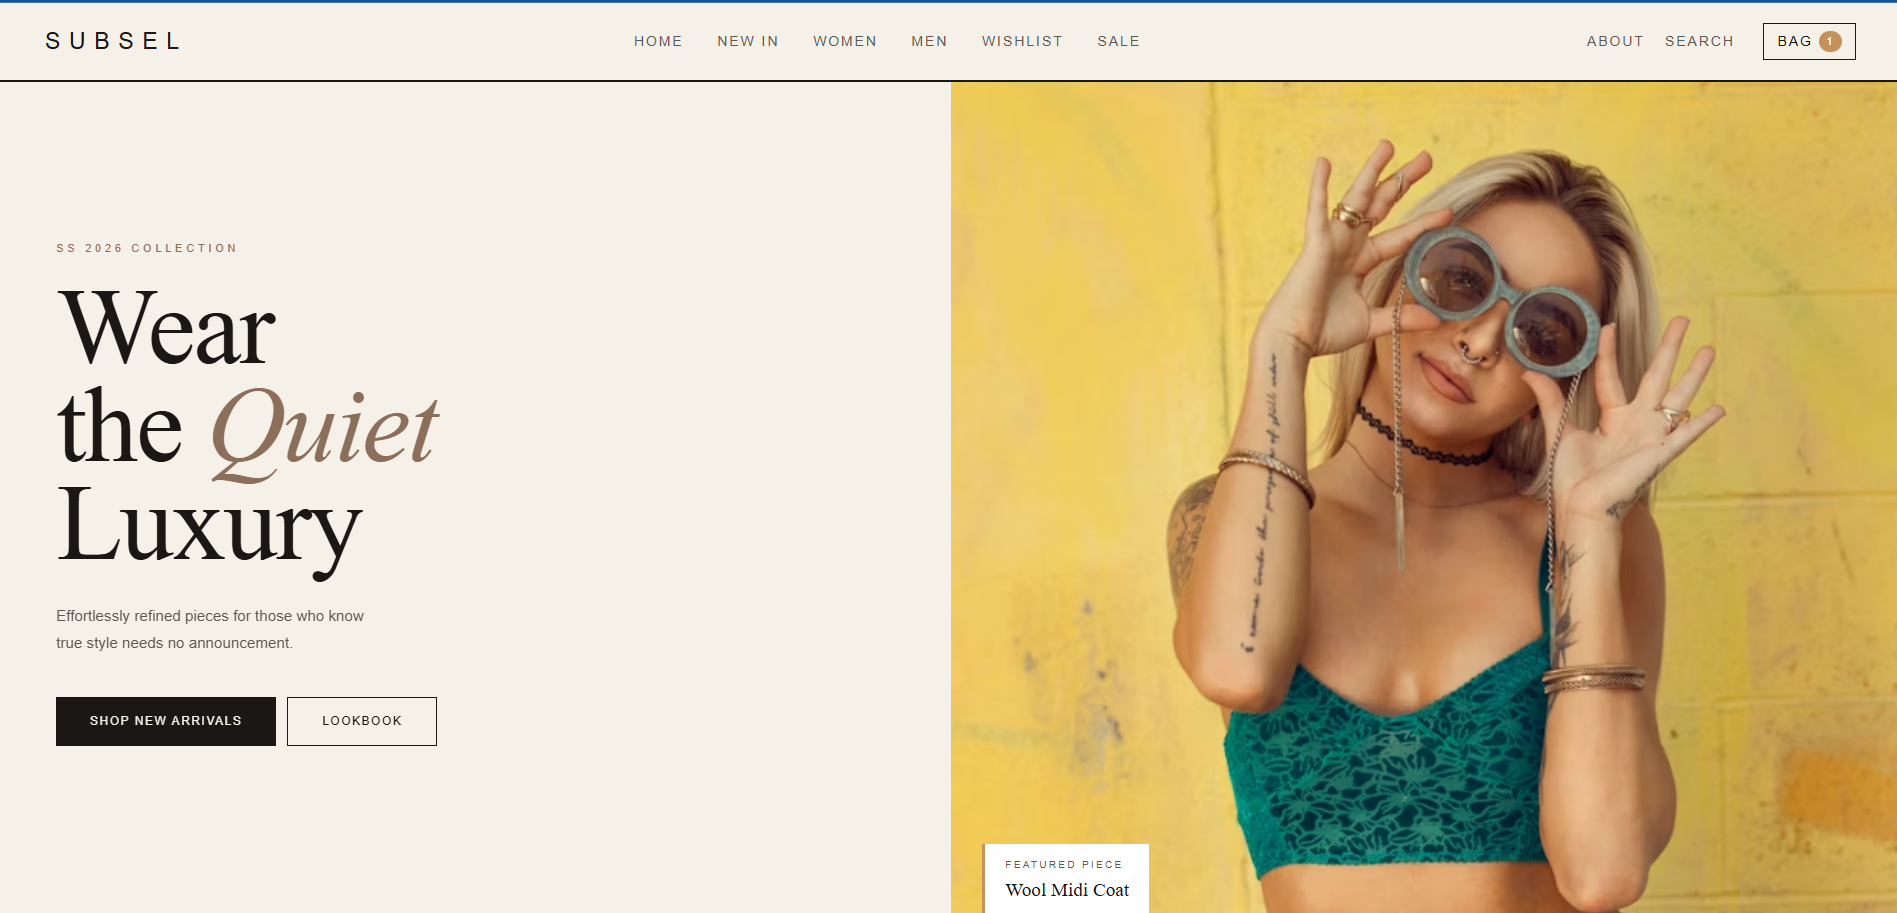
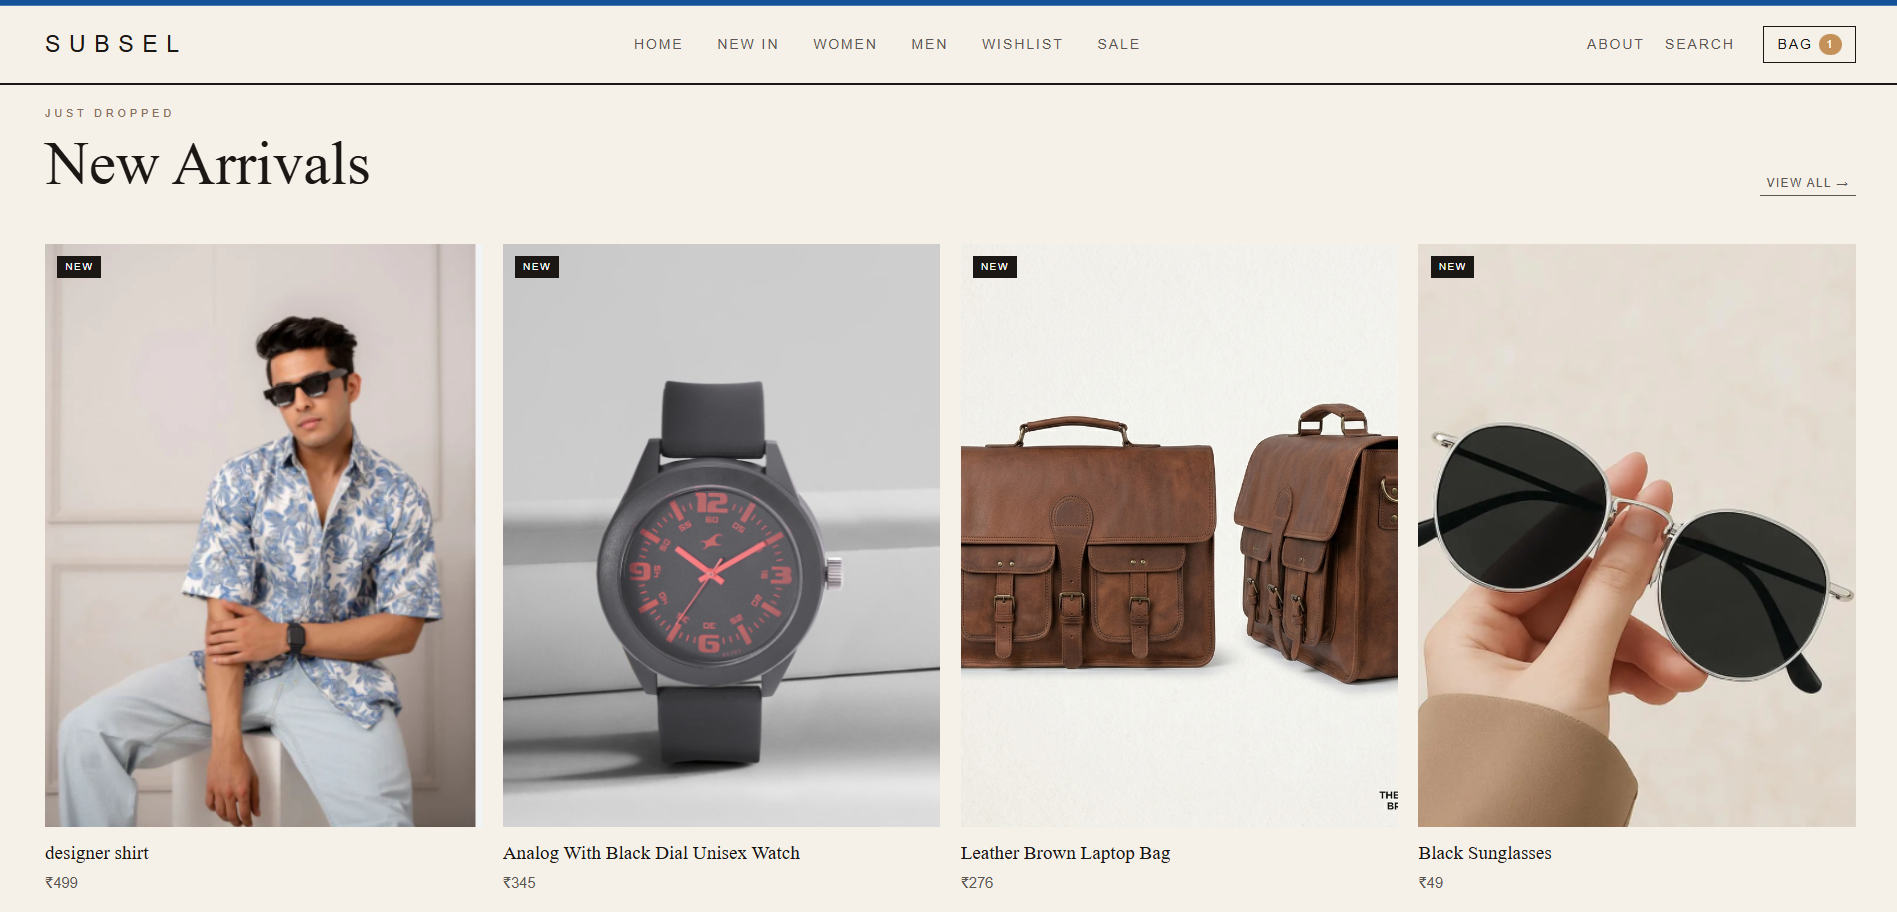
demonstrating how activating a Store__c record switches the live site from the Fashion store to the Medical store.